- All
- Product Name
- Product Keyword
- Product Model
- Product Summary
- Product Description
- Multi Field Search

Kaiping Yingchuan Sanitary Ware Technology Co., Ltd
304/316 stainless steel sanitary ware manufacturer
 English
Views: 0 Author: Site Editor Publish Time: 2026-06-09 Origin: Site


Quick answer:
To successfully detach your old bathroom fixtures, turn off the main water supply, remove the handle using an Allen wrench or Phillips screwdriver, take off the escutcheon plate, and carefully unscrew the valve assembly. Always ensure the pipes are drained before starting to prevent water damage.
Upgrading your bathroom hardware is one of the most effective ways to refresh your living space. Many homeowners tolerate leaky, outdated fixtures simply because the replacement process seems intimidating. However, modern plumbing design has made it significantly easier to swap out old components for sleek, modern alternatives. You can completely transform the look and feel of your bathroom in a single afternoon with a few basic hand tools and a bit of patience.
Understanding the mechanics behind your bathroom walls gives you total control over your renovation project. You do not need to hire an expensive contractor for every minor update. By learning the fundamental steps of hardware replacement, you protect your property from water damage while unlocking endless design possibilities. This knowledge allows you to select premium, certified hardware that perfectly matches your aesthetic preferences.
This guide will walk you through the entire process of safely dismantling your current bathroom setup. We will cover the essential tools required, outline the step-by-step removal process, and help you select the ideal replacements for your newly prepped space. By the time you finish reading, you will have the confidence to tackle this plumbing project with absolute precision.

Before you begin twisting valves and pulling off handles, you must gather the correct tools. Having the right equipment readily available prevents frustration and protects your delicate plumbing from accidental damage. You will need a standard set of Allen wrenches, as most modern handles use a small set screw hidden underneath the lever. A Phillips head screwdriver and a flathead screwdriver are also necessary for removing the main faceplate and prying off decorative caps.
In addition to basic screwdrivers, you should keep an adjustable wrench and a pair of tongue-and-groove pliers nearby. These gripping tools help loosen stubborn, calcified nuts that have been locked in place for years. It is highly recommended to wrap the teeth of your pliers with a cloth or painter's tape to prevent scratching the metal surfaces. Finally, keep a few dry towels and a bucket on hand to catch any residual water trapped inside the pipes.
Proper preparation makes removing a shower faucet a straightforward and stress-free process. Taking ten minutes to organize your workspace ensures that you will not have to stop halfway through the project to search for a missing tool.
The very first action you must take is shutting off the water supply. Look for the isolation valves located behind the wall panel, or turn off the main water valve for the entire house. Once the water is off, open the valve completely to relieve any pent-up pressure and drain the remaining water from the system.
Next, locate the set screw on the handle. This is usually hidden beneath a small decorative cap or positioned at the very bottom of the lever. Use your Allen wrench to loosen the screw, then carefully pull the handle away from the wall. With the handle off, you will see the escutcheon plate resting against the tile. Remove the two long screws holding the plate in place and slide it off the valve stem.
You are now looking at the raw brass valve body. Depending on your system, there may be a retaining clip holding the internal cartridge in place. Pull this clip upward using needle-nose pliers, and then slide the old cartridge out of the brass housing. Your plumbing is now ready to receive a brand new fixture.
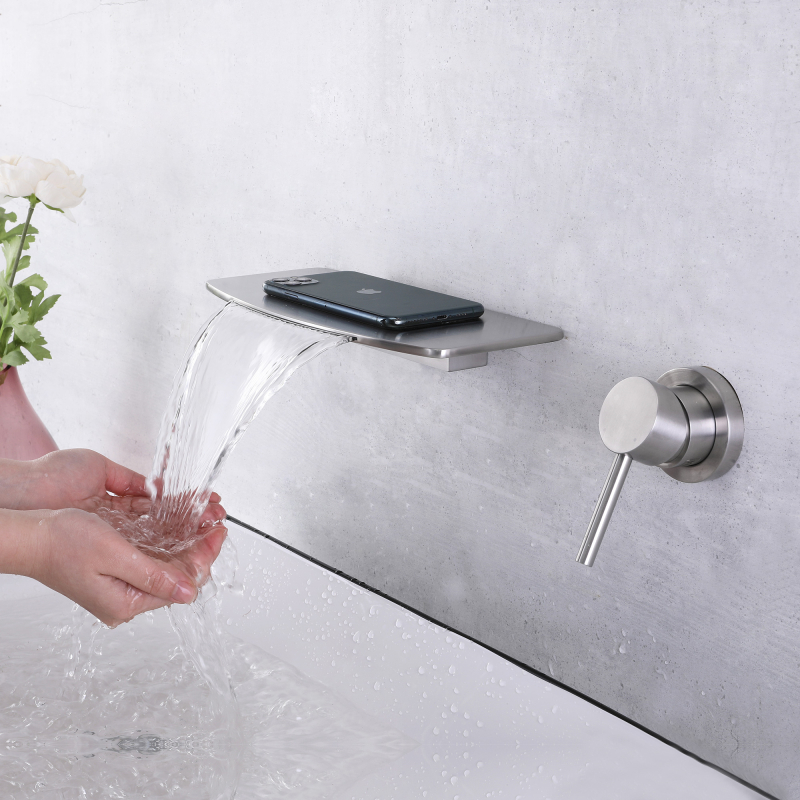
Once the old hardware is gone, you have a blank canvas. Many homeowners use this opportunity to upgrade their entire bathroom ecosystem. If you are updating the bathing area, it makes sense to update the sink area to match. A highly popular choice for contemporary spaces is a concealed basin faucet. This style hides the bulky plumbing components behind the wall, leaving only the elegant spout and handle visible above the sink. It creates a minimalist, hotel-like atmosphere that is incredibly easy to clean.
When selecting new hardware, you must prioritize quality and safety certifications. Look for products constructed from 304 or 316 stainless steel, which offer superior resistance to corrosion and rust. Furthermore, ensuring your new hardware meets strict regional standards is critical for long-term reliability. Choosing a watermark wall mount faucet guarantees that the product complies with rigorous plumbing codes regarding lead-free composition and structural integrity.
To help you decide on the final look of your new bathroom, consider the following comparison of popular hardware finishes:
Finish Type | Maintenance Level | Best Design Match | Durability |
Polished Chrome | High (shows fingerprints) | Traditional, Modern | Very High |
Matte Black | Medium (shows water spots) | Industrial, Minimalist | High |
Brushed Nickel | Low (hides smudges well) | Transitional, Rustic | Very High |
Brushed Gold | Medium (requires gentle cleaning) | Luxury, Contemporary | High |


Replacing your bathroom hardware is a highly rewarding DIY project that instantly elevates the value of your home. By taking the time to carefully dismantle the old components, you protect your plumbing infrastructure and pave the way for high-quality, modern installations. Always remember to prioritize premium materials like 316 stainless steel and certified designs to ensure your new fixtures last a lifetime. With your new knowledge, you are ready to turn that outdated bathroom into a luxurious personal retreat.
Yes. You must turn off the water supply before attempting to remove any plumbing fixtures. If your bathroom does not have dedicated isolation valves behind the access panel, you must turn off the main water valve for the entire house to prevent flooding.
For a beginner, the entire process of dismantling the old hardware and installing a new trim kit typically takes between one and two hours. This timeframe assumes you have all the necessary tools prepared and that the existing internal valve does not need to be replaced.
Usually, no. The external trim kit and handle must match the internal brass valve installed behind the wall. If you want to switch to a different brand, you will likely need to hire a plumber to solder a new valve body into your water lines.
According to metallurgical standards, 316 stainless steel contains molybdenum, which significantly increases its resistance to corrosion and chemical damage. This makes it the ideal material for high-moisture environments like bathrooms, ensuring the metal will not rust or degrade over time.


