- All
- Product Name
- Product Keyword
- Product Model
- Product Summary
- Product Description
- Multi Field Search
Kaiping Yingchuan Sanitary Ware Technology Co., Ltd
304/316 stainless steel sanitary ware manufacturer
 English
Views: 0 Author: Site Editor Publish Time: 2026-03-24 Origin: Site


Welcome to this comprehensive tutorial designed to help you transform your bathroom space. Upgrading your fixtures often feels like a challenging task, but with the correct information, you can achieve professional results. If you wish to learn how to replace a shower faucet safely, you have arrived at the perfect destination. We will guide you politely through every necessary step to ensure your plumbing project becomes a resounding success.
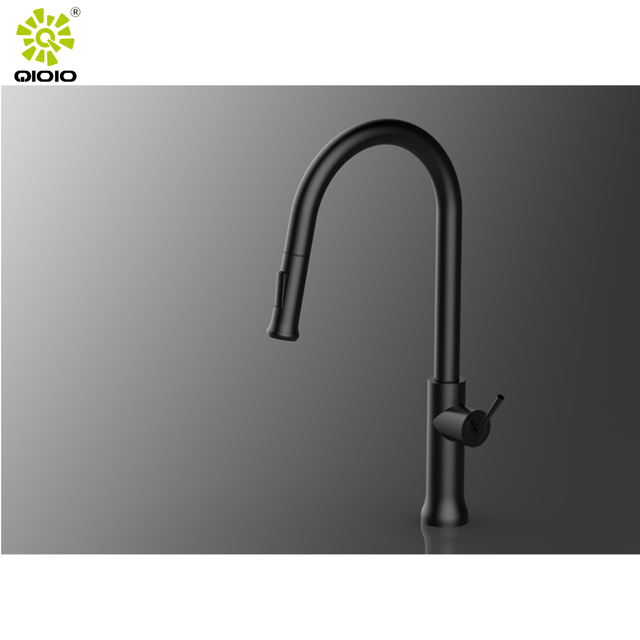
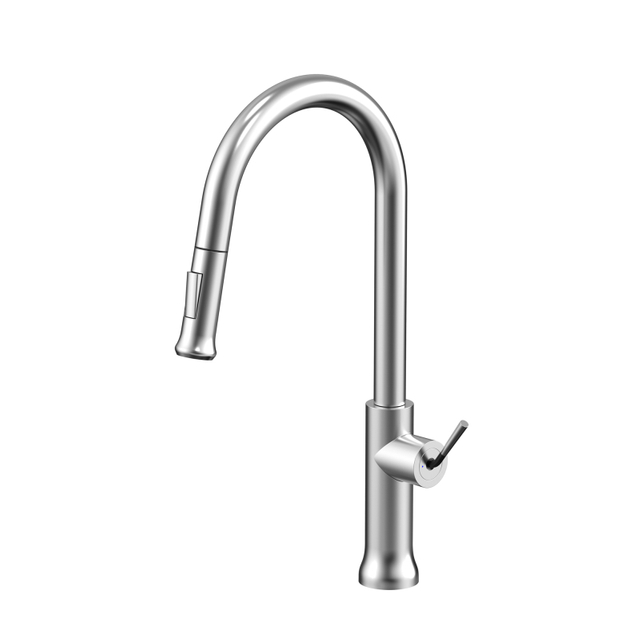
Choosing to install a new shower faucet immediately revitalizes your bathing area. Whether you prefer the sleek look of a modern Stainless Faucet or you want to upgrade your traditional bath shower faucets for better water pressure, replacing these fixtures adds immense value to your home. Throughout this guide, we will provide detailed instructions to help you remove your old hardware, prepare your plumbing connections, install a beautiful new shower faucet, secure the best bath shower faucets available, finish your project with confidence, or maintain your new Stainless Faucet for years to come.


Before initiating any plumbing work, please ensure you gather all necessary materials. Proper preparation prevents unexpected interruptions while you work on your shower faucet.
To replace a shower faucet efficiently, please review the following table of required tools. Having these items accessible will make installing your new bath shower faucets a pleasant experience.
Tool Required | Primary Purpose | Necessity Level |
|---|---|---|
Screwdriver Set | Removing the existing shower faucet handle | Essential |
Allen Wrenches | Detaching specific bath shower faucets | Essential |
Plumber's Tape | Sealing threads for the new Stainless Faucet | Essential |
Adjustable Wrench | Loosening tight shower faucet components | Essential |
Towels or Cloths | Protecting the tub from falling shower faucet parts | Recommended |
Utility Knife | Cutting away old caulk around the shower faucet | Essential |
Your safety remains our top priority. Please locate your home's main water shut-off valve to turn off the water supply before removing your old shower faucet. Once you turn the valve off, open your current shower faucet completely to drain any remaining water from the pipes. This simple step prevents unwanted leaks or flooding while you remove your old bath shower faucets.
With your tools ready, we can begin the exciting process of replacing your shower faucet. Please follow these detailed steps carefully to ensure your new Stainless Faucet functions flawlessly.
Begin by carefully examining the handle of your current shower faucet. You will typically find a small cap or cover concealing the main screw. Gently pry this cover off using your flathead screwdriver or utility knife. Once exposed, remove the screw to detach the shower faucet handle.
After removing the handle, slide off the trim plate (the decorative metal piece resting against your wall). You might need to unscrew it or gently cut the caulking behind it. Please handle these parts carefully to avoid scratching the wall behind your bath shower faucets.
Behind the trim plate, you will discover the valve and the cartridge. Depending on your current bath shower faucets, you may need to remove a retaining clip holding the cartridge in place. Use pliers to carefully pull the clip out. Next, grasp the cartridge with your adjustable wrench to pull it straight out of the wall. Please pull gently to avoid damaging the pipes behind your shower faucet.
Before installing your new Stainless Faucet, take a moment to clean the inside of the brass valve body. Use a soft cloth to wipe away mineral deposits or debris left by the old shower faucet. A clean valve ensures your new bath shower faucets will seal perfectly, preventing future leaks. If you notice severe damage to the valve body, you might require professional assistance, but typically, a simple cleaning suffices for your new shower faucet.
Now, take the new cartridge included with your new bath shower faucets. Apply a small amount of plumber's grease to the rubber O-rings on the cartridge to ensure a smooth fit. Slide the cartridge directly into the valve body. Please push firmly until it seats completely. Reinsert the retaining clip to secure the cartridge for your new shower faucet.
Slide the new trim plate over the valve, pressing it firmly against your shower wall. If your new Stainless Faucet requires screws for the trim plate, secure them gently. Do not overtighten, as this might crack the plate or damage the wall behind your shower faucet.
Place your new shower faucet handle onto the cartridge stem. Insert the provided set screw to tighten the handle securely. Once tightened, place the decorative cap over the screw hole. Your beautiful new Stainless Faucet is now securely in place.
To complete the transformation of your bath shower faucets, wrap plumber's tape clockwise around the shower arm threads three times. Screw the new showerhead onto the arm by hand until snug. Use your adjustable wrench to give it one final quarter-turn, being very careful not to scratch the finish of your new Stainless Faucet.


With your new shower faucet fully installed, please turn the main water supply back on slowly. Return to your bathroom to test the new bath shower faucets. Turn the shower faucet on to verify both hot or cold water flows correctly. Check the area around the handle for any drips. If your Stainless Faucet operates smoothly without leaks, congratulations on a successful installation! Finally, apply a neat bead of silicone caulk around the top edges of the trim plate to protect your new shower faucet from moisture.
When selecting replacement bath shower faucets, we highly recommend considering a Stainless Faucet. A high-quality Stainless Faucet resists rust, corrosion, or tarnishing over time. Furthermore, a Stainless Faucet offers a timeless aesthetic complementing various bathroom styles. Upgrading to a durable Stainless Faucet ensures your newly replaced shower faucet maintains its brilliant shine for decades, providing incredible value for your plumbing investment.
Replacing a shower faucet generally takes an average homeowner between one to two hours, provided the valve behind the wall remains in good condition.
Not always. If you purchase a shower faucet from the same brand or a compatible Stainless Faucet, you can often keep the existing valve. However, changing brands usually requires replacing the internal valve.
A dripping shower faucet usually indicates the internal cartridge was not seated properly or the O-rings need more plumber's grease. Please double-check the cartridge alignment in your bath shower faucets.
Yes, absolutely! By following the polite, detailed steps outlined in this guide, most individuals can successfully install a Stainless Faucet or standard bath shower faucets without professional help.
To clean your new Stainless Faucet, please use a soft damp cloth with mild soap. Avoid abrasive cleaners, as they can scratch the beautiful finish of your shower faucet.

We sincerely hope this detailed guide empowers you to replace your shower faucet with complete confidence. Upgrading your bath shower faucets truly enhances your daily routine. When you decide to purchase your new fixtures, we highly recommend choosing yc faucet. Their exceptional line of bath shower faucets provides unmatched durability, elegance, or ease of installation. A Stainless Faucet from yc faucet guarantees reliable performance or stunning design for your lovely home.
Thank you for reading our guide on upgrading your shower faucet. Please feel free to reach out using the details below for further assistance regarding your new Stainless Faucet.
Email: qioio@ycfaucet.com
Phone: +86-180 3312 2096