- All
- Product Name
- Product Keyword
- Product Model
- Product Summary
- Product Description
- Multi Field Search

Kaiping Yingchuan Sanitary Ware Technology Co., Ltd
304/316 stainless steel sanitary ware manufacturer
 English
Views: 0 Author: Site Editor Publish Time: 2026-06-25 Origin: Site


Quick answer:
Replacing a shower faucet takes most DIYers two to three hours and requires only basic tools—a wrench, screwdriver, plumber's tape, and a replacement valve or trim kit. Shut off the water, remove the old handle and trim, swap in the new unit, then test for leaks. Choosing a durable stainless steel model like those from ycfaucet makes the job easier and the result longer-lasting.
A dripping, corroded, or outdated shower fixture is one of the most common bathroom complaints. The good news? You don't always need to hire a professional to fix it. With a clear plan, the right parts, and a free afternoon, this is a project many homeowners can tackle themselves.
This guide walks through the full process step by step. You'll learn what tools to gather, how to remove your old fixture safely, and how to pick a replacement that won't rust out in a year. We'll also explain the difference between standard and thermostatic systems, so you can decide which upgrade is right for your bathroom.
By the end, you'll have the confidence to start—and the knowledge to finish without surprises.
Preparation saves you trips to the hardware store mid-project. Before you turn off any water, lay out your tools and confirm your replacement part matches your existing plumbing.
Here's what most jobs require:
Item | Purpose | Notes |
|---|---|---|
Adjustable wrench | Loosening connections | A basin wrench helps in tight spaces |
Phillips & flathead screwdrivers | Removing handles and trim | Magnetic tips prevent dropped screws |
Plumber's tape (PTFE) | Sealing threaded joints | Wrap clockwise, 3–4 times |
Allen key set | Loosening set screws | Often included with new fixtures |
Replacement valve or trim kit | The new fixture | Match the connection size and type |
Bucket and old towels | Catching residual water | Keeps your work area dry |
Always confirm whether you're replacing just the visible trim or the entire valve body behind the wall. Trim-only swaps are far simpler and rarely require opening the wall.
The first and most important step is shutting off the water supply. Some bathrooms have a dedicated shutoff valve; if yours doesn't, turn off the main supply to the house. Open the shower to release any remaining pressure before you begin.
Next, follow this sequence to change a shower faucet cleanly:
Remove the handle. Pry off the decorative cap, then loosen the set screw underneath.
Detach the trim plate. Unscrew the escutcheon to expose the valve.
Inspect the valve. Check for corrosion or mineral buildup that may explain leaks.
Disconnect the old valve (if replacing the full unit), keeping a bucket handy.
Take a photo at each stage. It gives you an easy reference when reassembling, especially if you're stepping away mid-project.
Not all fixtures are built to last. Many budget units use chrome-plated plastic or low-grade alloys that corrode quickly in humid bathrooms. This is where material quality makes a real difference.
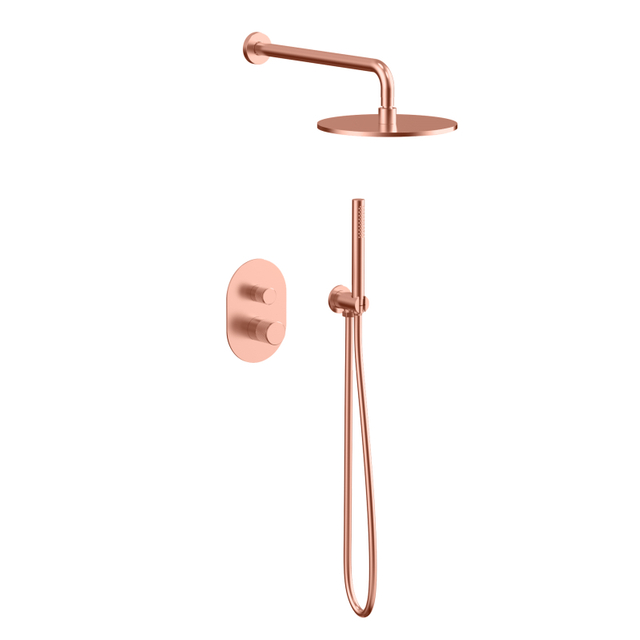
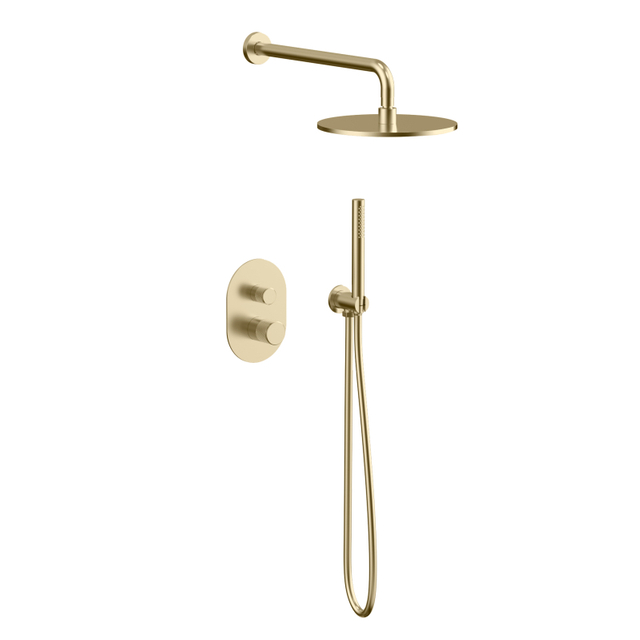
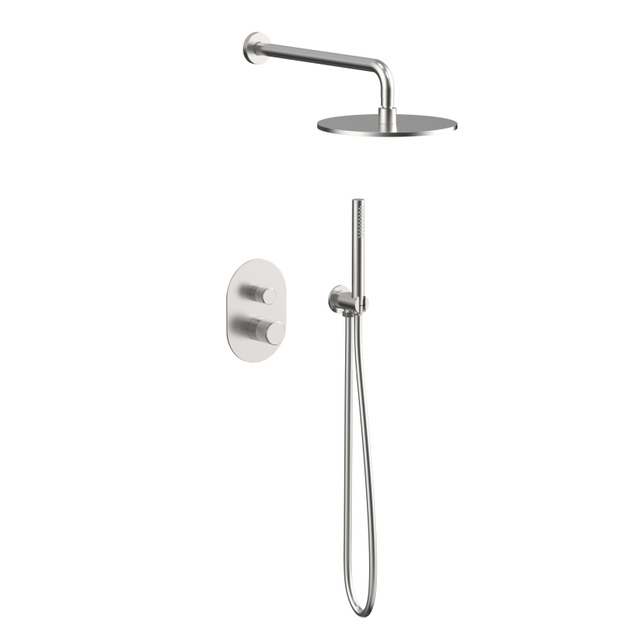
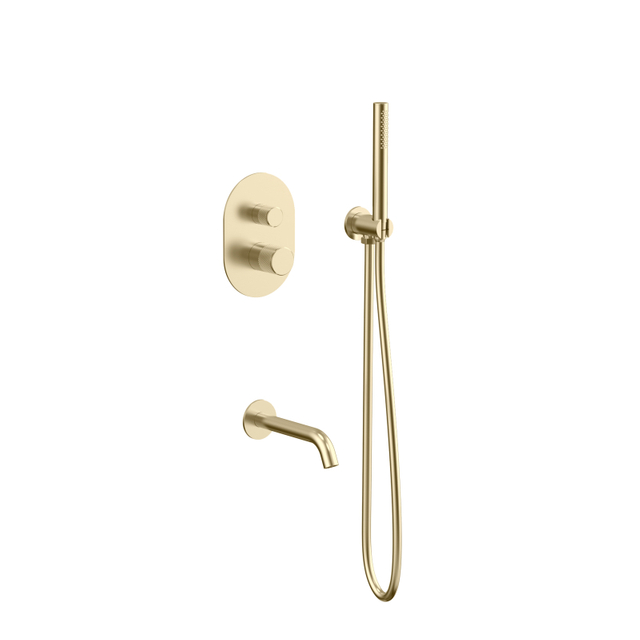
ycfaucet manufactures shower fixtures using food-grade 304 and 316 stainless steel, which resists rust, oxidation, and lead leaching even in harsh water conditions. As a source factory founded in 2016 in Kaiping—China's recognized plumbing sanitary ware base—ycfaucet holds eight international certifications, including Watermark, WELS, and cUPC, so the parts meet strict safety and performance standards.
When selecting a unit, prioritize these factors:
Material: Stainless steel outlasts plastic and brass alloys.
Certification: Look for cUPC or Watermark approval for safe drinking-water contact.
Connection type: Match it to your existing plumbing to avoid adapters.
Finish and style: ycfaucet offers multiple series and color crafts to suit modern bathrooms.
Choose a stainless steel fixture if long-term durability and water safety matter more to you than the lowest upfront price.

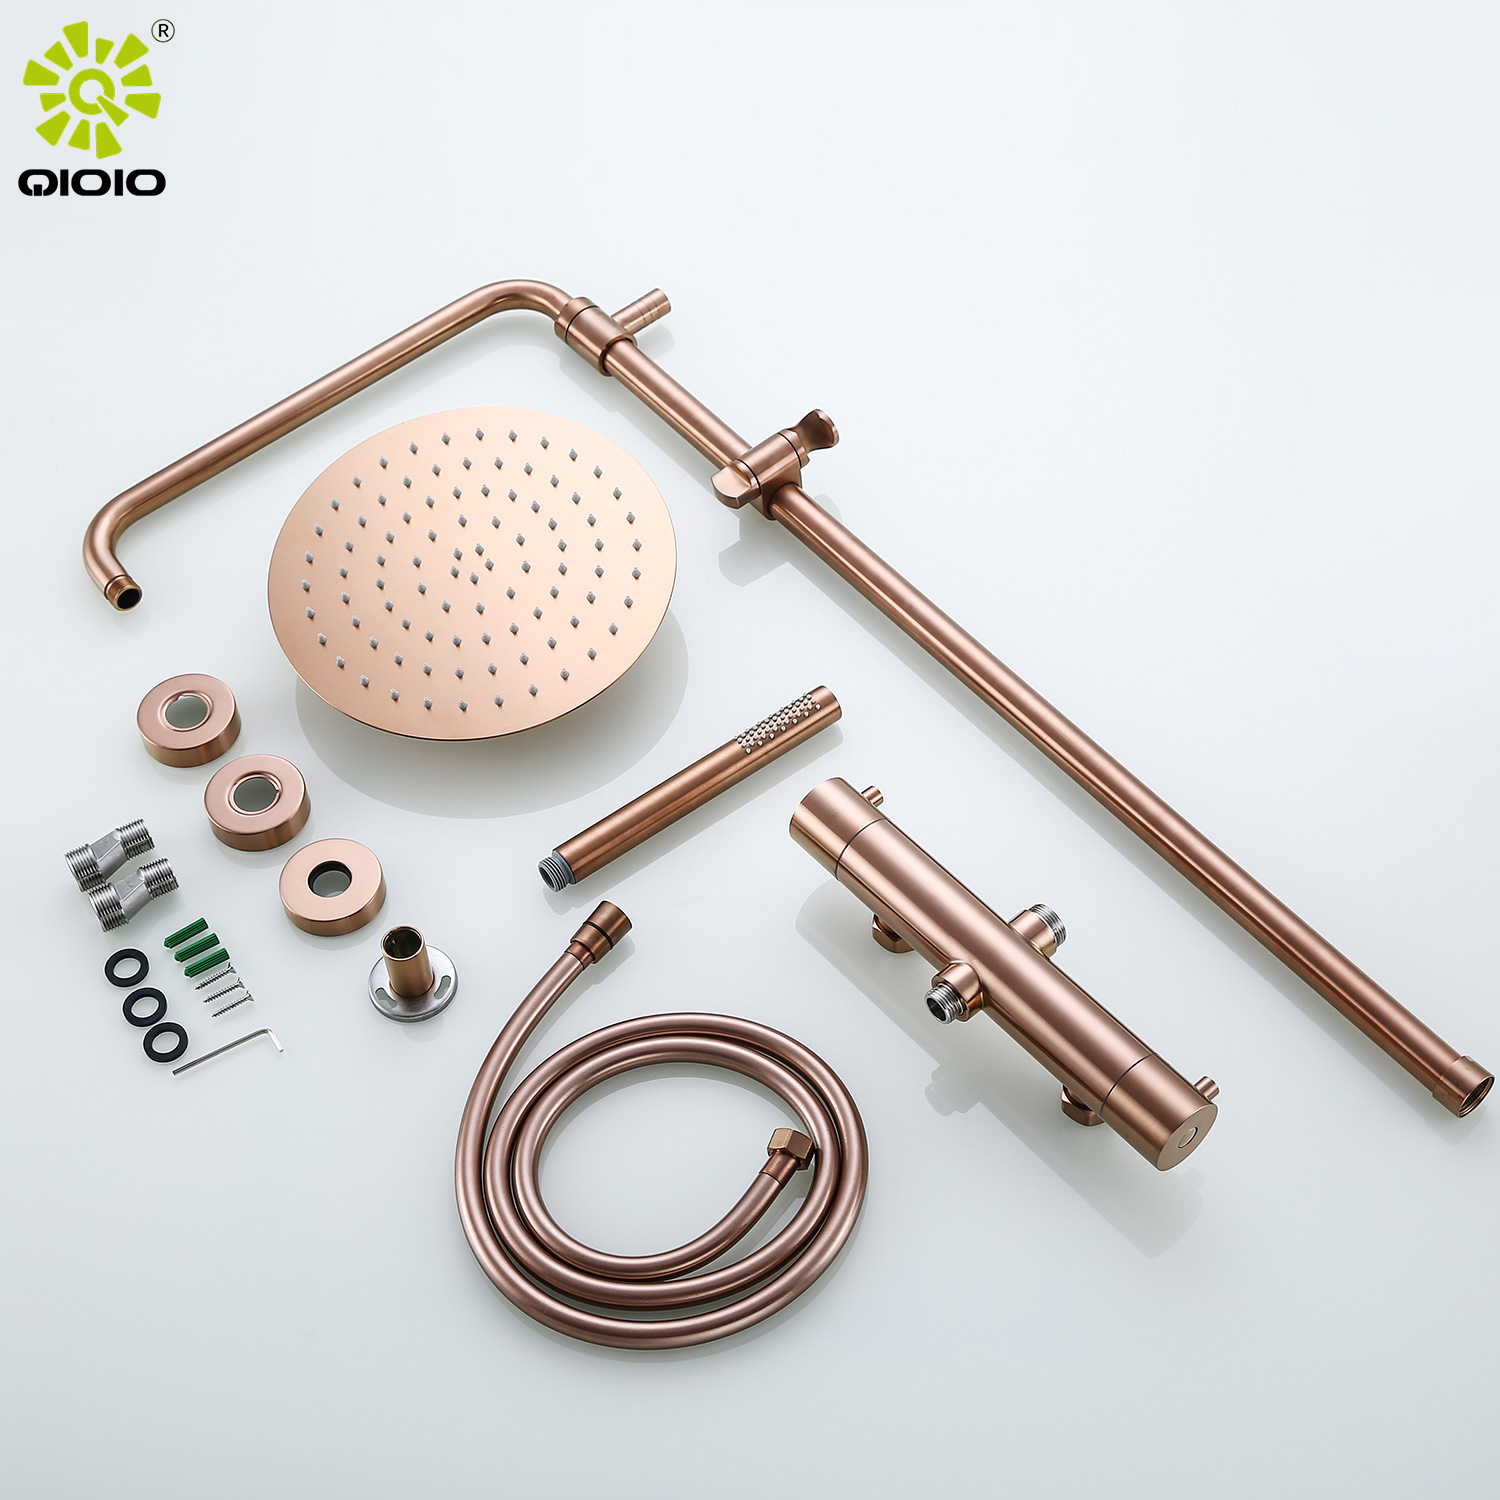
With the old unit out and the new fixture ready, replacing a shower faucet follows the reverse of removal:
Wrap plumber's tape around any threaded connections.
Secure the new valve or trim plate, tightening firmly but not over-cranking.
Reattach the handle and set screw.
Restore the water supply slowly.
Run hot and cold water, checking carefully for leaks at every joint.
Let the shower run for a few minutes. A small drip at first often means a connection needs a quarter-turn tighter, or that the plumber's tape needs another wrap. If leaks persist behind the wall, that's the one scenario where a plumber is worth the call.
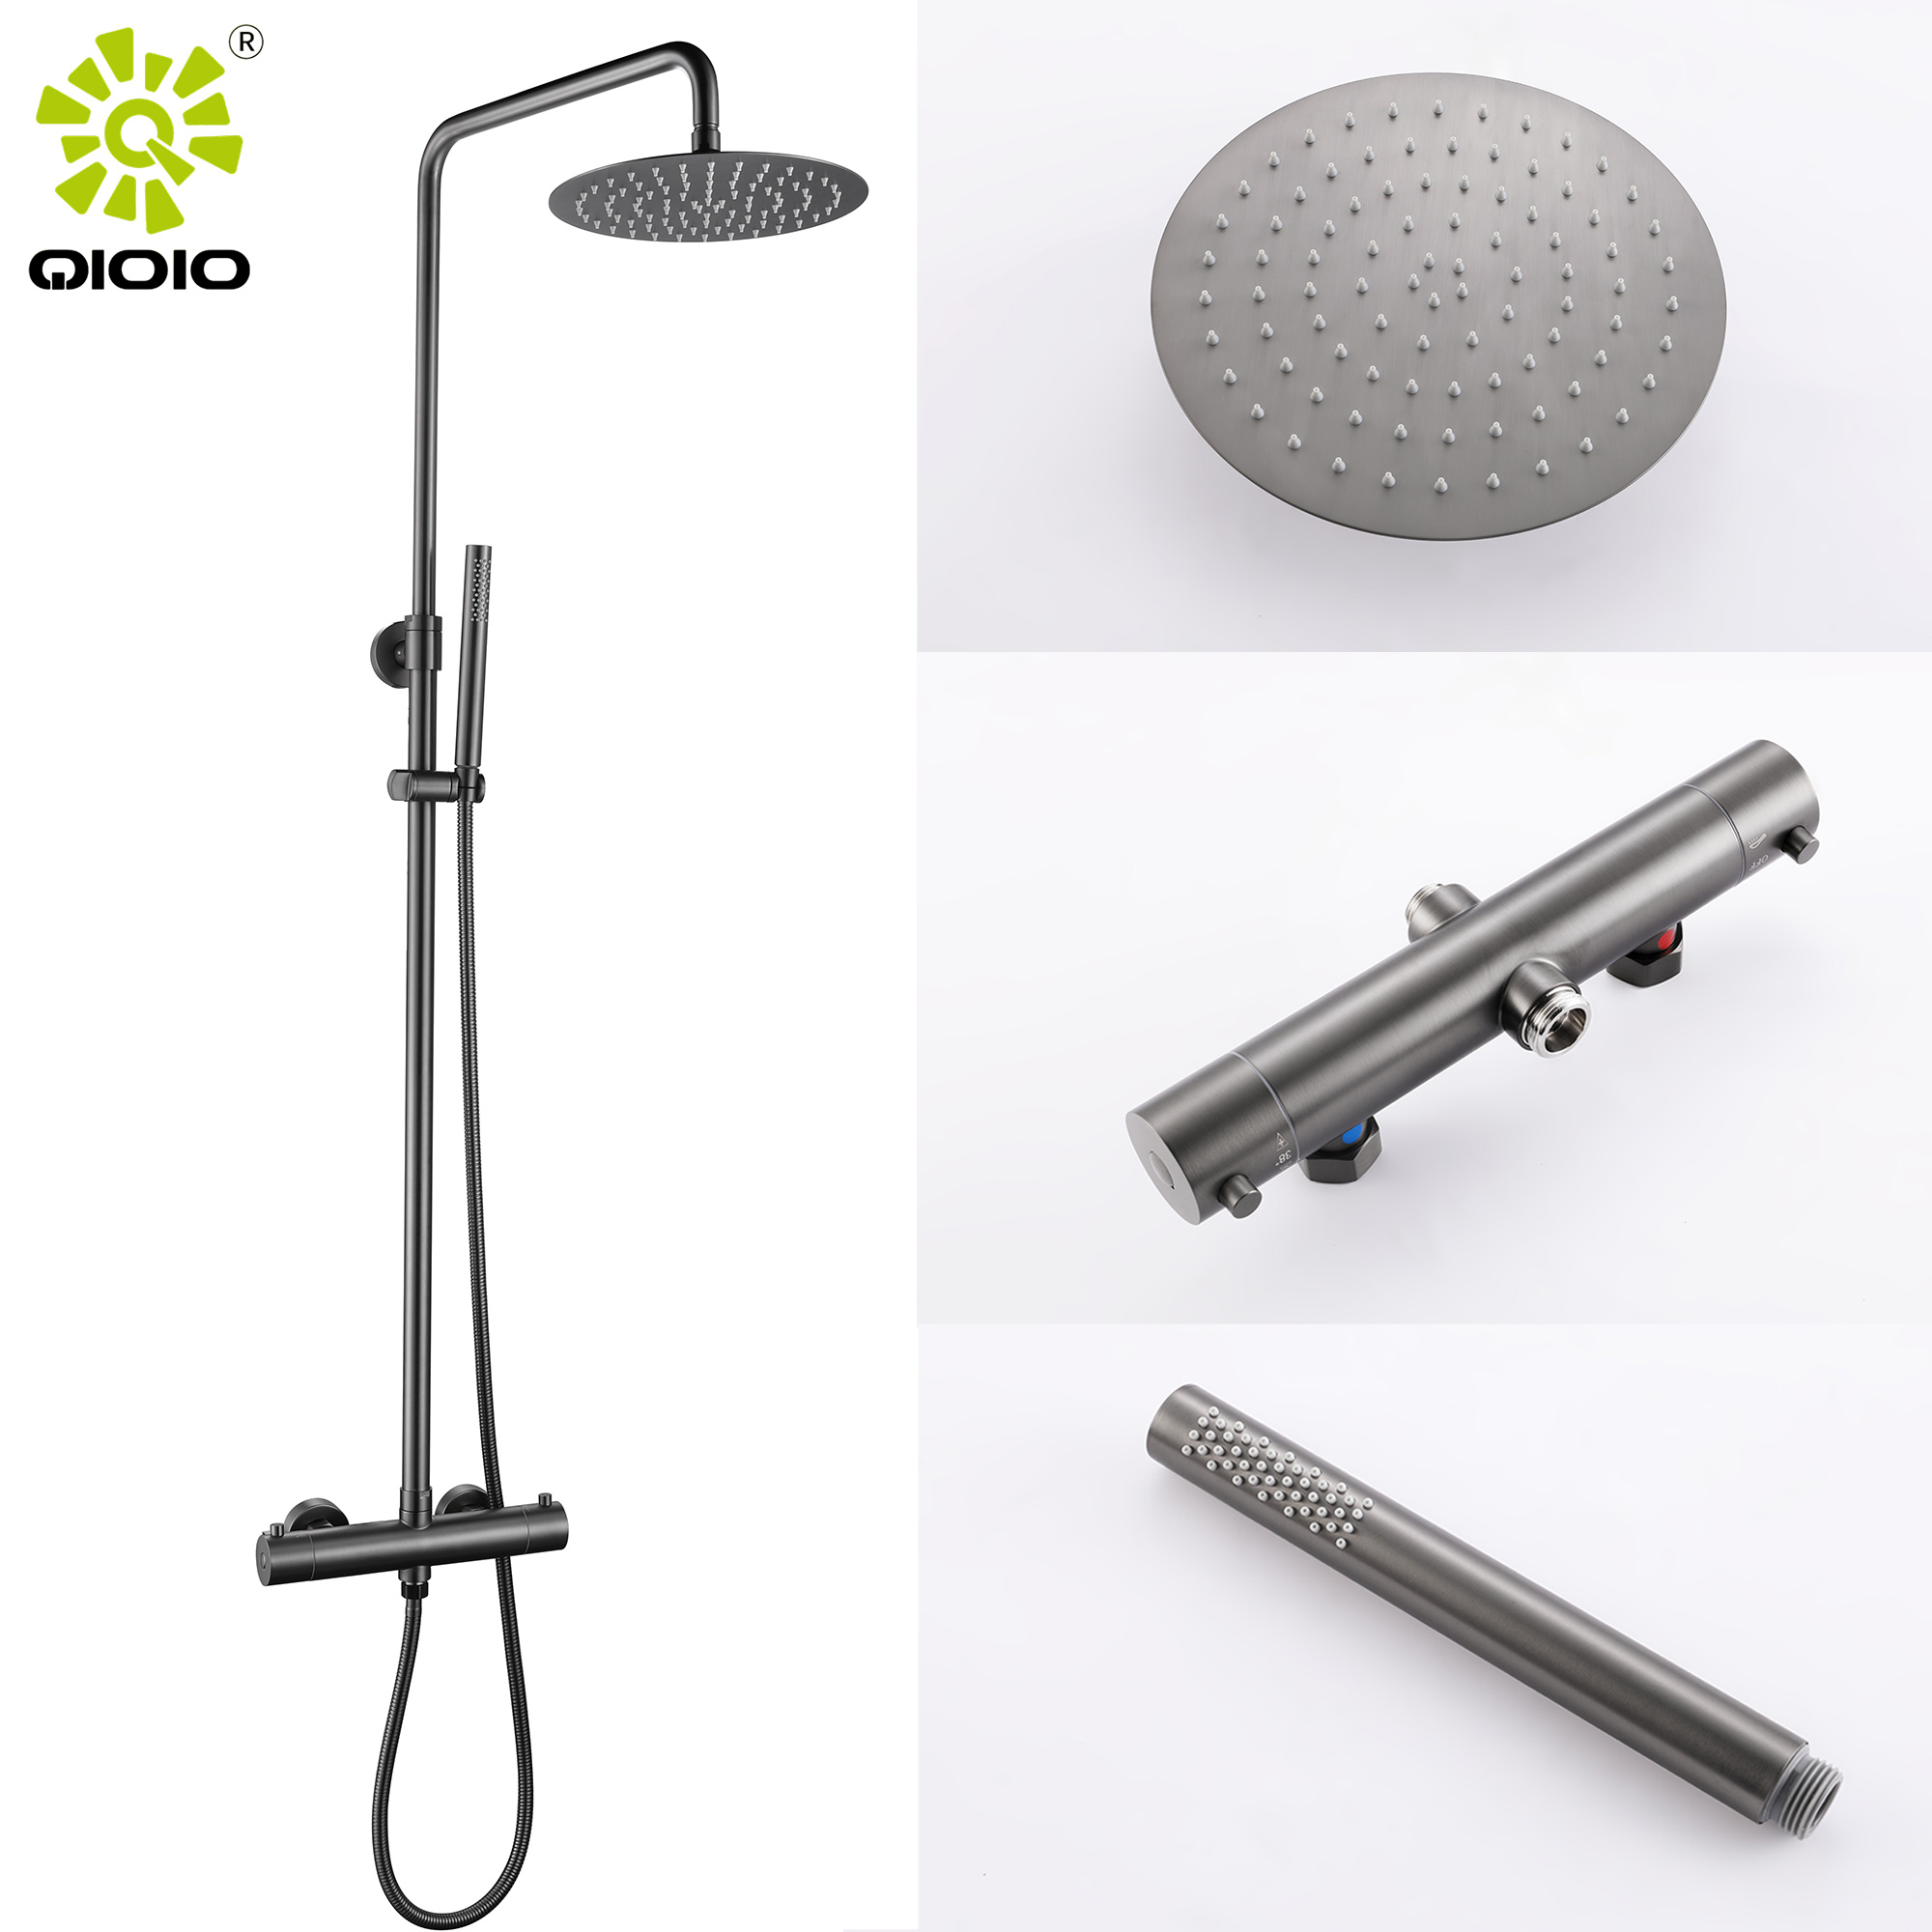
When upgrading, you'll face a key decision between a standard mixing valve and a thermostatic one. The difference affects comfort, safety, and price.
Feature | Standard Valve | Thermostatic Valve |
|---|---|---|
Temperature control | Manual adjustment | Automatic, holds a set temperature |
Scald protection | Limited | Built-in safety limit |
Best for | Single-user bathrooms, tight budgets | Families, homes with fluctuating pressure |
Price | Lower | Higher |
Comfort | Varies with water pressure | Consistent every time |
Understanding how does a thermostatic shower work helps explain the upgrade. A thermostatic valve uses an internal element that reacts instantly to incoming water temperature, blending hot and cold automatically to keep your shower steady—even if someone flushes a toilet elsewhere in the house.
Choose a thermostatic system if you have children, elderly family members, or unpredictable water pressure. A standard valve is fine for a single adult on a tighter budget.
Swapping out a shower fixture is well within reach for most homeowners. The real keys to success are simple: prepare your tools first, shut off the water, work methodically, and invest in a fixture built to last. A quality stainless steel unit will pay you back in years of leak-free, rust-free use.
If you're ready to upgrade, explore ycfaucet's range of certified stainless steel shower sets and thermostatic systems. As an OEM and ODM source factory with over 10,000 overseas clients, ycfaucet can help you find—or customize—the right fixture for your project. Reach out for a one-to-one solution and start your bathroom upgrade with confidence.
How long does it take to replace a shower fixture?
Most trim-only replacements take one to two hours. Full valve replacements that require accessing pipes behind the wall can take three to four hours, depending on your experience and bathroom layout.
Do I need to open the wall to replace my shower fixture?
Usually not. If you're only updating the handle and trim, the job stays on the surface. You'll only need wall access when replacing the entire valve body behind the tiles.
How much does it cost to replace a shower fixture myself?
A DIY swap typically costs the price of the fixture itself, ranging widely by material and brand. Stainless steel units cost more upfront than plastic but last significantly longer, lowering long-term replacement costs.
Is a thermostatic shower worth the extra cost?
For families, homes with children or elderly users, or properties with inconsistent water pressure, yes. The built-in scald protection and consistent temperature deliver clear safety and comfort benefits that justify the higher price.
What material is best for a long-lasting shower fixture?
Food-grade 304 or 316 stainless steel offers the best balance of corrosion resistance, durability, and water safety. It resists rust and lead leaching far better than chrome-plated plastic or standard brass.