- All
- Product Name
- Product Keyword
- Product Model
- Product Summary
- Product Description
- Multi Field Search
Kaiping Yingchuan Sanitary Ware Technology Co., Ltd
304/316 stainless steel sanitary ware manufacturer
 English
Views: 0 Author: Site Editor Publish Time: 2026-02-04 Origin: Site


Does your bathroom shower drip constantly, keeping you awake at night? Or perhaps the finish on your old shower faucet has chipped away, leaving an eyesore in your otherwise pristine space. Knowing how to change a shower faucet is a valuable skill that saves money on plumbing bills while giving your bathroom a fresh look. While plumbing tasks often feel intimidating, replacing a shower faucet is straightforward when you have the right guidance. This guide walks you through every step of the process, ensuring you can install your new shower head set with confidence.
Before you grab your wrench, why is it necessary to change a shower faucet? Over time, mineral deposits build up inside the valve, causing leaks or uneven water pressure. A malfunctioning shower faucet doesn't just waste water; it can lead to water damage behind your walls. Furthermore, updating your fixtures is one of the most cost-effective ways to modernize a bathroom shower. A sleek new shower head set can transform your daily routine from a chore into a spa-like experience. Whether you are dealing with a leak or just want a cosmetic upgrade, replacing the unit is often the best solution.


Preparation is half the battle when learning how to change a shower faucet. You don't want to be halfway through the job only to realize you are missing a crucial tool. Having everything ready ensures a smooth process when working on your bathroom shower.
Tool/Material | Purpose |
|---|---|
Adjustable Wrench | Loosening and tightening nuts and bolts. |
Channel-Lock Pliers | Gripping pipes and stubborn fixtures. |
Screwdriver Set | Removing handle screws and escutcheon plates. |
Allen Wrench Set | Removing handle set screws (often hidden). |
Plumber’s Tape (Teflon Tape) | Sealing threaded connections to prevent leaks. |
Plumber’s Putty or Silicone Caulk | Sealing gaps behind the faceplate. |
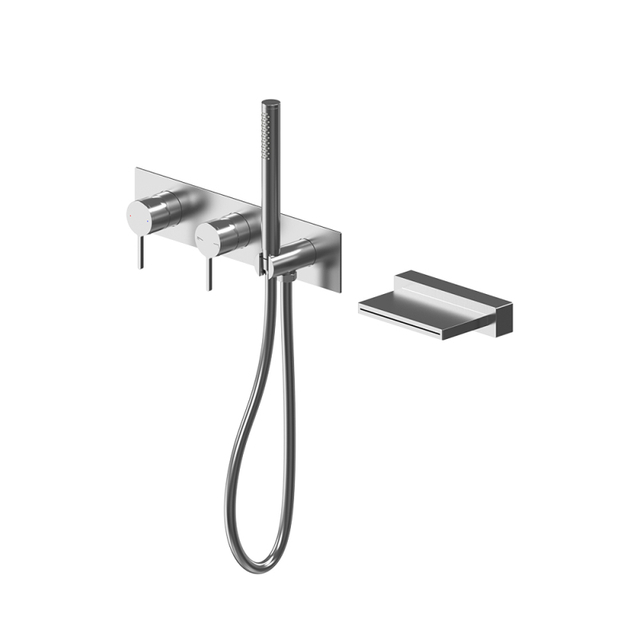
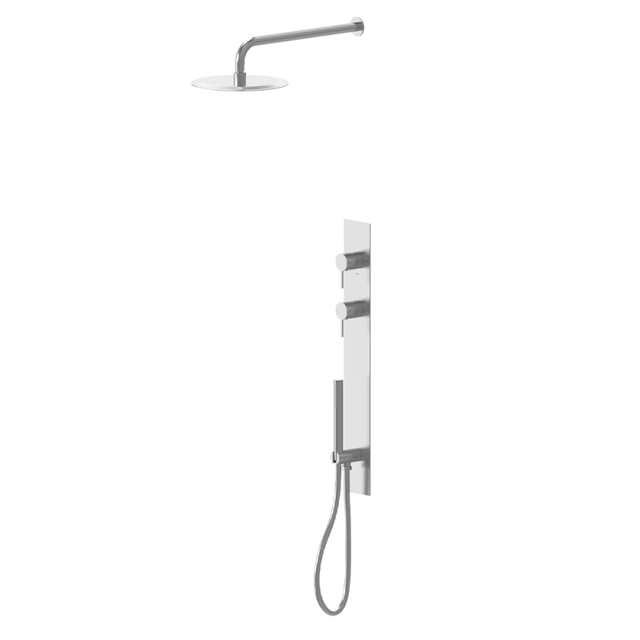
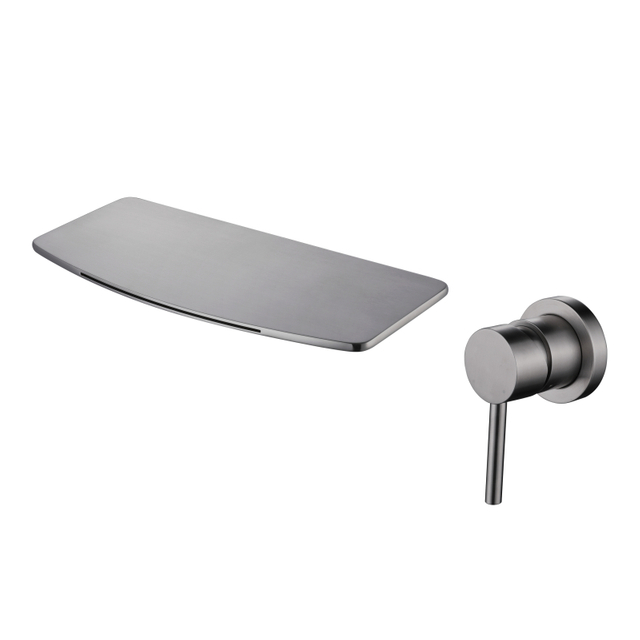
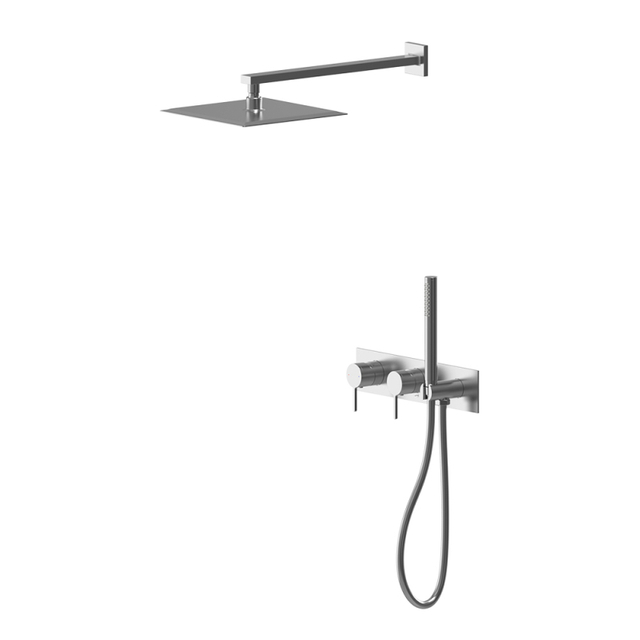
New Shower Faucet Kit | The replacement valve and trim. |
New Shower Head Set | The water outlet fixture. |
Cartridge Puller (Optional) | Removing stuck cartridges from the valve. |
Towels and Rags | Cleaning up water and protecting the drain. |
How do you ensure safety before you start? The very first step when you change a shower faucet is turning off the water supply. Locate the main water shut-off valve for your home or the isolation valves specifically for the bathroom shower. Once the water is off, open the old shower faucet handle to drain any remaining water from the pipes.
Next, cover the drain with a towel or a drain cover. This is a crucial tip. Small screws can easily fall down the drain, turning a simple shower head set replacement into a plumbing nightmare. Clear your workspace of shampoo bottles and soaps to give yourself plenty of room to maneuver inside the bathroom shower.
Are you ready to start dismantling? The first physical step to change a shower faucet is removing the handle. Most handles have a small cap covering a screw. Use a flathead screwdriver to gently pry off this cap. Underneath, you will find a screw that holds the handle to the cartridge. If your handle doesn't have a cap, look for a small set screw on the underside of the handle. You will likely need an Allen wrench to loosen this.
Once the screw is out, pull the handle straight off. If it feels stuck due to mineral buildup, wiggle it gently. Do not force it too hard, as you don't want to damage the pipes behind the wall. With the handle off, you are one step closer to installing your new shower head set.
What is an escutcheon plate? It is the decorative metal plate that sits against the bathroom shower wall, covering the hole where the valve sits. To change a shower faucet completely, this plate must come off. usually, two long screws hold this plate in place. Unscrew them and gently pull the plate away from the wall.
You might find old caulk holding the plate to the bathroom shower tiles. If so, use a utility knife to carefully slice through the sealant. Be careful not to scratch your tiles. Once removed, clean the area thoroughly. Removing old caulk ensures your new shower faucet trim will sit flush against the wall.
Is the leak coming from the handle? If you aren't replacing the entire valve body inside the wall (which requires soldering and cutting pipes), you likely just need to change the cartridge. This is the heart of the shower faucet. It controls water temperature and flow.
After removing the handle and trim, you will see a retaining clip or nut holding the cartridge in place. Remove this clip with pliers. Now, grip the cartridge firmly with pliers and pull it straight out. This can require significant force if the shower faucet is old. If it won't budge, you may need a specialized cartridge puller tool.
Take your old cartridge to the hardware store to match it exactly. There are many types of shower faucet cartridges, and they are not interchangeable. Once you have the correct replacement, grease the O-rings with silicone grease and slide it into the valve body. Ensure it is aligned correctly—usually, there are notches to guide you. Replace the retaining clip to secure it.
Now for the easy part—updating the shower head set. How do you remove the old head? Simply grip the shower arm (the pipe coming out of the wall) with pliers—use a cloth to protect the finish—and use an adjustable wrench to unscrew the old shower head.
Clean the threads of the shower arm to remove old tape. Apply fresh plumber's tape in a clockwise direction around the threads. This tape is essential for a watertight seal on your new shower head set. Screw on the new head by hand, then give it a final quarter-turn tightening with your wrench. Do not overtighten, as this can crack the plastic nuts often found on modern bathroom shower fixtures.


With the new cartridge in place and the shower head set installed, how do you finish the job? It is time to put the trim back on. Slide the new escutcheon plate over the valve stem. Before tightening it against the wall, apply a bead of silicone caulk around the back edge of the plate to prevent water from seeping behind the bathroom shower wall. Leave a small gap at the bottom of the plate to allow any trapped water to escape.
Tighten the screws for the plate. Next, slide on the sleeve (if your shower faucet model has one) and attach the new handle. Tighten the set screw or handle screw firmly. Your shower faucet should now look brand new.
Before you celebrate, how do you verify your work? Turn the water supply back on slowly. Go back to your bathroom shower and turn on the new shower faucet. Check for three things:
Is water leaking from the connection between the shower arm and the shower head set? Is the temperature mixing correctly (hot is hot, cold is cold)?
If you see drips at the shower head set, tighten the connection slightly. If the handle leaks, ensure the cartridge retaining nut is tight. Testing is a critical step when you change a shower faucet to ensure long-term reliability.
Now that you know how to change a shower faucet, how do you keep it working perfectly? Maintenance is key. Clean your shower head set regularly to prevent mineral buildup that blocks nozzles. You can do this by soaking the head in vinegar.
Wipe down the shower faucet handle and trim after use to prevent water spots and corrosion. If you notice the handle becoming stiff over time, it may be a sign that the cartridge needs greasing or replacement again. Taking care of your bathroom shower fixtures extends their lifespan significantly.
Can every shower faucet be changed by a DIYer? While replacing trim and cartridges is manageable, replacing the entire valve body inside the wall involves soldering copper pipes. If your old valve is corroded beyond repair or isn't compatible with modern trim kits, you might need to replace the rough-in valve. This is a complex job. If you lack soldering experience, it is wise to call a professional to handle the internal plumbing while you manage the external shower head set installation.
A new shower head set does more than just look good. Modern sets often include low-flow technology that maintains pressure while using less water. This benefits the environment and lowers your utility bills. Additionally, upgrading your bathroom shower allows you to choose features like handheld sprayers or rain shower heads, customizing your bathing experience. When you change a shower faucet, you are investing in your daily comfort.
When choosing a new shower faucet, consider your home's water pressure. Some rain-style shower head set models require high pressure to function correctly. If you have low water pressure, look for a shower faucet designed to amplify flow. Reading specifications ensures your new bathroom shower fixture performs as expected.
Aesthetics matter when you change a shower faucet. Chrome is a classic choice for a bathroom shower because it is durable and easy to clean. Brushed nickel offers a warmer tone and hides water spots well. Oil-rubbed bronze adds a traditional, rustic feel. Ensure your new shower head set matches the other fixtures in your bathroom, such as the sink faucet and towel bars, for a cohesive look.
Learning how to change a shower faucet empowers homeowners to maintain their property and improve their living space. By following these steps, you can successfully replace a shower head set and valve trim without the hassle of scheduling a plumber. Remember to take your time, use the right tools, and ensure every connection in your bathroom shower is sealed tight.
If you are looking for a reliable, high-quality replacement, we recommend considering [yc faucet]. Their products combine durability with modern design, making them an excellent choice for any bathroom renovation.
Email: qioio@ycfaucet.com
Phone: +86-180 3312 2096
For a basic trim and cartridge replacement, it usually takes about an hour. If you are replacing the entire valve body inside the wall, it can take 3-4 hours or more. Installing a simple shower head set takes less than 15 minutes.
Not necessarily. If your bathroom shower has dedicated isolation valves (often found behind a panel in the wall), you can just shut those off. However, if you cannot find them, you must shut off the main water supply to change a shower faucet safely.
Yes, but this is a complex job. It requires removing tiles and altering the plumbing pipes behind the wall to accommodate a new mixing valve. It is much more involved than a simple shower head set swap.
Leaks usually occur because connections aren't tight enough or plumber’s tape wasn't applied correctly. Check the connection between the shower arm and the shower head set. If the leak is at the handle, the cartridge may not be seated correctly.
The "faucet" generally refers to the visible trim (handle and spout), while the "valve" is the internal mechanism behind the wall that controls water flow. When you change a shower faucet trim, you are often leaving the old valve body in place.