- All
- Product Name
- Product Keyword
- Product Model
- Product Summary
- Product Description
- Multi Field Search

Kaiping Yingchuan Sanitary Ware Technology Co., Ltd
304/316 stainless steel sanitary ware manufacturer
 English
Views: 0 Author: Site Editor Publish Time: 2026-06-15 Origin: Site


Quick answer:
To install a new shower faucet, shut off the water supply, remove the old faucet and valve, install the new valve body into the wall, connect the hot and cold supply lines, attach the trim kit, and restore the water supply. Most installations take 2–4 hours with basic plumbing tools.
Swapping out an old or leaky shower faucet is one of the most satisfying plumbing upgrades a homeowner can tackle. The results are immediate—better water pressure, more precise temperature control, and a fresher look in your bathroom. With the right tools and a clear plan, the job is well within reach, even for beginners.
This guide walks you through every stage of the process, from gathering your tools to testing for leaks. Follow the steps carefully and you'll have a fully functional shower faucet installed by the end of the day.


Before touching a single pipe, gather everything you need. Running to the hardware store mid-installation is a frustrating setback. Use the table below as your pre-job checklist.
Item | Purpose |
Adjustable wrench | Tightening and loosening supply line connections |
Screwdrivers (flathead & Phillips) | Removing trim screws and handle hardware |
Pliers | Gripping pipes and fittings |
Utility knife | Cutting caulk or drywall access panels |
Pipe wrench | Securing the valve body |
Teflon tape | Sealing threaded connections |
Plumber's putty or silicone caulk | Sealing around trim plate |
New shower faucet kit | Replacement valve, trim, and handle |
Bucket and towels | Catching residual water |
Flashlight | Illuminating the work area inside the wall |
A quality how to install a new shower faucet project always starts with a high-grade faucet kit. Look for one made from durable stainless steel or solid brass, which resists corrosion and holds up well in humid bathroom environments.
Safety first. Locate the main water shutoff valve for your home—typically found in the basement, utility room, or outside near the foundation—and turn it fully clockwise to close it. If your shower has dedicated shutoff valves behind an access panel, use those instead.
Once the water is off, turn on the shower handle to release any remaining pressure in the lines. Let the water drain completely. Place a bucket under the work area to catch any residual water that spills when you disconnect the old valve.
Remove the existing shower handle by unscrewing the decorative cap at the center, then loosening the handle screw beneath it. Set the handle aside. Next, unscrew the trim plate (also called the escutcheon) from the wall. You may need to score around the edges with a utility knife if it's been caulked in place.
With the trim removed, you'll have access to the valve body recessed inside the wall. Depending on your setup, this may require cutting a small access panel in an adjacent wall or working through the existing shower opening.
Disconnect the hot and cold supply lines from the valve using an adjustable wrench. Have your towels ready—a small amount of water will likely drain out. Then unscrew or unclip the valve from its mounting bracket and carefully pull it free from the wall cavity.
Inspect the surrounding pipe stubs for any corrosion or damage. If the pipe threads look worn, clean them with a wire brush before proceeding. This is also a good time to note the rough-in depth of your wall, as it determines which valve model will fit correctly.
Slide the new valve body into the wall opening, aligning it with the hot (left) and cold (right) supply stubs. Most modern shower valves use either threaded or solder connections—follow the manufacturer's instructions for your specific model.
If using threaded connections, wrap the pipe threads with two to three layers of Teflon tape, then hand-tighten the supply line nuts before finishing with a wrench. Avoid overtightening, which can crack fittings. If soldering, ensure all residual water is cleared from the pipes before applying heat.
Secure the valve body to the mounting bracket so it sits flush with the wall surface. This alignment is critical—if the valve sits too deep or too far out, the trim plate won't seat properly.
The process of replacing shower faucet components varies by brand, so always cross-reference your installation manual. Some valves include a depth gauge or adjustable mounting ears to simplify positioning.

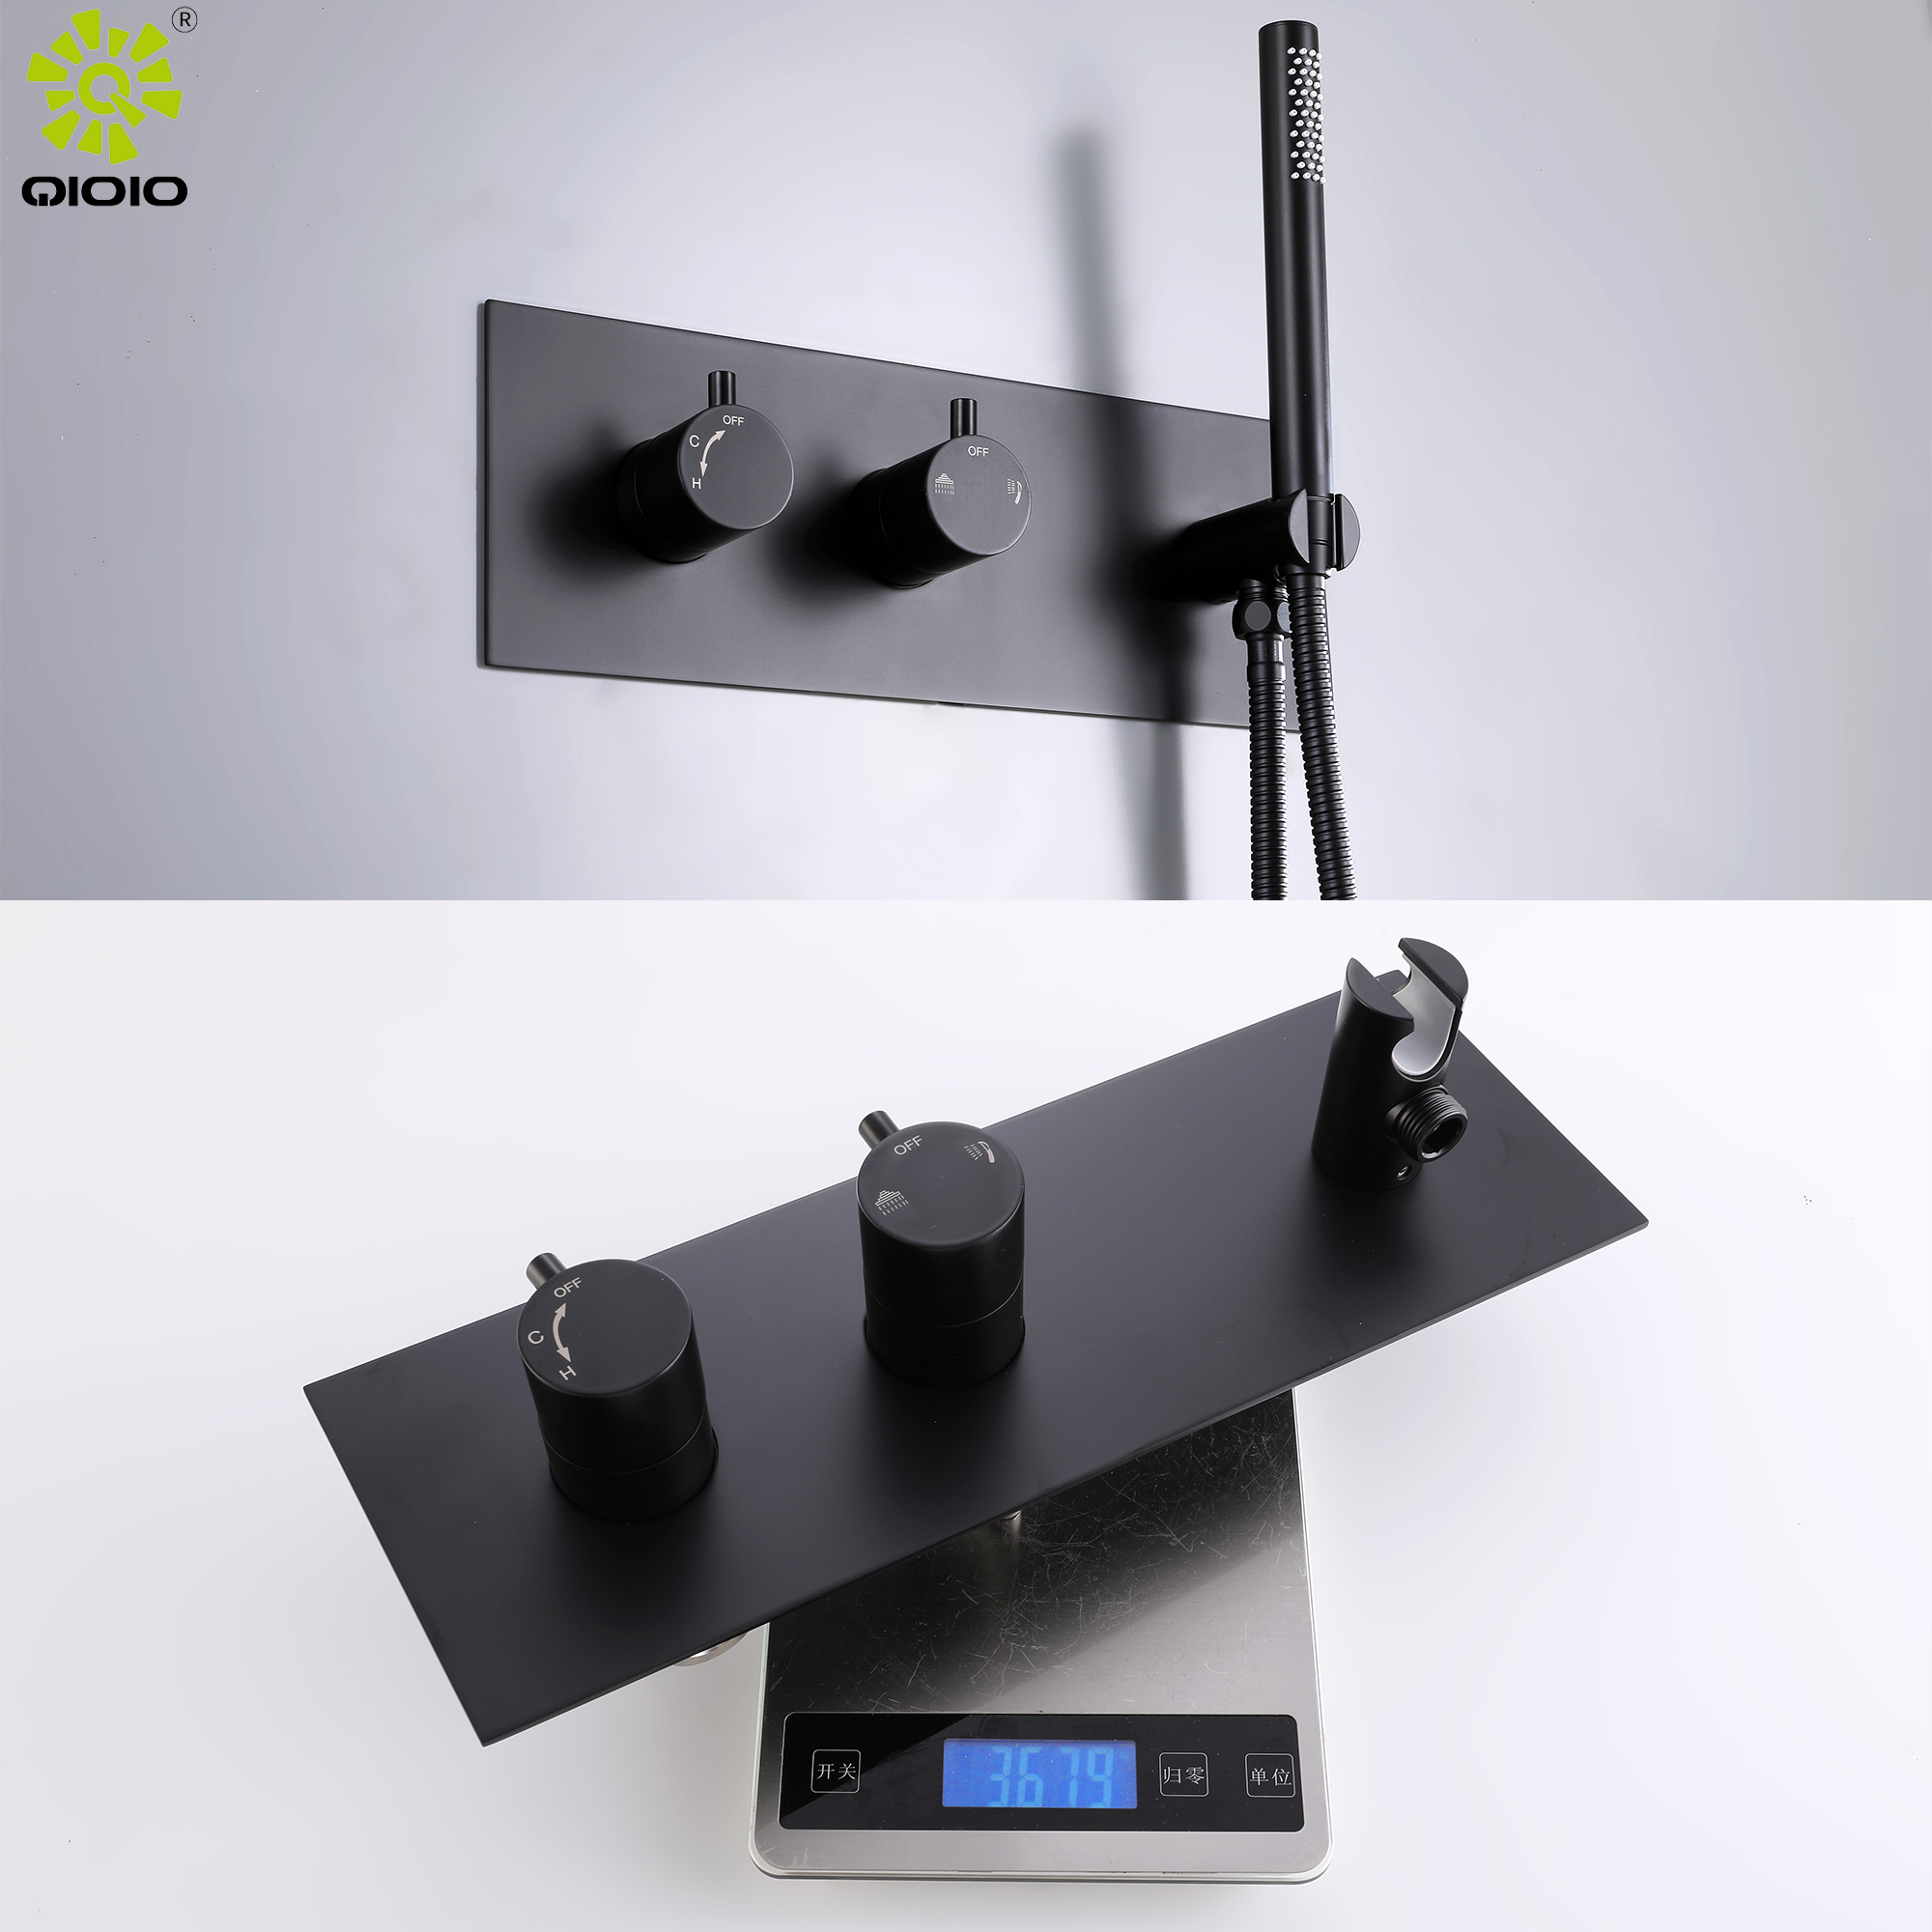
With the valve secured, it's time to install the visible components. Feed the trim plate over the valve stem and press it flat against the wall. Apply a thin bead of silicone caulk around the back edge of the plate before pressing it into position—this prevents water from seeping behind the tile or surround.
Attach the cartridge or handle adapter to the valve stem according to the manufacturer's specifications, then slide the handle onto the stem and fasten it with the handle screw. Replace the decorative cap to conceal the screw.
Spin the handle through its full range of motion to confirm it moves freely without catching. Check that the temperature limit stop (a small plastic tab on most modern valves) is set to a safe maximum—this prevents scalding, particularly important in households with children.
Knowing how to change out a shower faucet correctly at this stage means double-checking every connection before restoring water flow.
Slowly reopen the main water shutoff valve—turn it gradually rather than all at once to avoid pressure spikes. Walk back to the shower and watch the valve connections and supply lines carefully for any drips.
Turn the shower handle on and let water run for two to three minutes. Check behind the trim plate, around the supply connections, and inside the wall cavity (if accessible) for any signs of moisture. A flashlight helps here.
If you spot a slow drip at a threaded connection, turn off the water, disassemble that fitting, add an extra layer of Teflon tape, and reassemble. A drip from the showerhead or spout when the handle is off may indicate a worn cartridge—replace it before finishing the job.
Once everything checks out, apply a final bead of caulk around the trim plate perimeter and smooth it with a damp finger. Allow it to cure for 24 hours before using the shower.
A successful shower faucet installation comes down to preparation and patience. Rushing through the valve alignment or skipping Teflon tape on threaded joints are the two most common causes of callbacks. Take your time on each step, test thoroughly before closing up the wall, and choose a quality faucet from a reputable manufacturer to ensure long-term performance.
Most homeowners with basic DIY skills can install a shower faucet without a licensed plumber. The job requires shutting off the water supply, removing the old valve, and connecting the new one—no specialized licensing is needed in most regions. However, if your pipes require soldering or your wall has significant water damage, hiring a professional is the safer choice.
A standard shower faucet replacement takes between 2 and 4 hours for someone with moderate DIY experience. First-time installers should budget 4–6 hours to account for learning time and unexpected issues like corroded fittings or difficult wall access.
The shower valve is the internal component inside the wall that controls water flow and temperature mixing. The shower faucet refers to the complete assembly, including the valve, trim plate, handle, and any visible hardware. When replacing the faucet, you may replace just the trim (cosmetic update) or the entire valve body (functional repair).
No. The main water supply—or dedicated shutoff valves—must be closed before disconnecting any shower plumbing. Working on pressurized pipes without shutting off the water will result in flooding and potential water damage.
Thermostatic shower valves offer the most precise temperature control and are ideal for families with young children or elderly members. Pressure-balancing valves are more affordable and meet building codes in most regions. For longevity, choose a faucet body made from 304 or 316 stainless steel, which resists corrosion and avoids lead leaching.


