- All
- Product Name
- Product Keyword
- Product Model
- Product Summary
- Product Description
- Multi Field Search

Kaiping Yingchuan Sanitary Ware Technology Co., Ltd
304/316 stainless steel sanitary ware manufacturer
 English
Views: 0 Author: Site Editor Publish Time: 2026-07-07 Origin: Site


TL;DR:
Replacing a shower faucet involves shutting off the water supply, removing the old valve and trim, and installing a new faucet assembly. Most homeowners can complete the job in two to four hours with basic tools. Choosing a high-quality faucet—like those from ycfaucet's stainless steel shower range—ensures a longer-lasting result and fewer future repairs.
A dripping shower faucet wastes more water than most people realize. According to the U.S. Environmental Protection Agency (EPA), a single leaky faucet dripping once per second can waste more than 3,000 gallons of water per year. Beyond the water bill, a worn-out faucet can cause pressure issues, inconsistent temperatures, and water damage behind the wall.
The good news? This is a repair most homeowners can handle themselves. Knowing how to replace a shower faucet properly—from gathering the right tools to sealing the final connection—saves you the cost of a plumber and gives you full control over the quality of your new fixture. This guide walks you through every step clearly and practically.
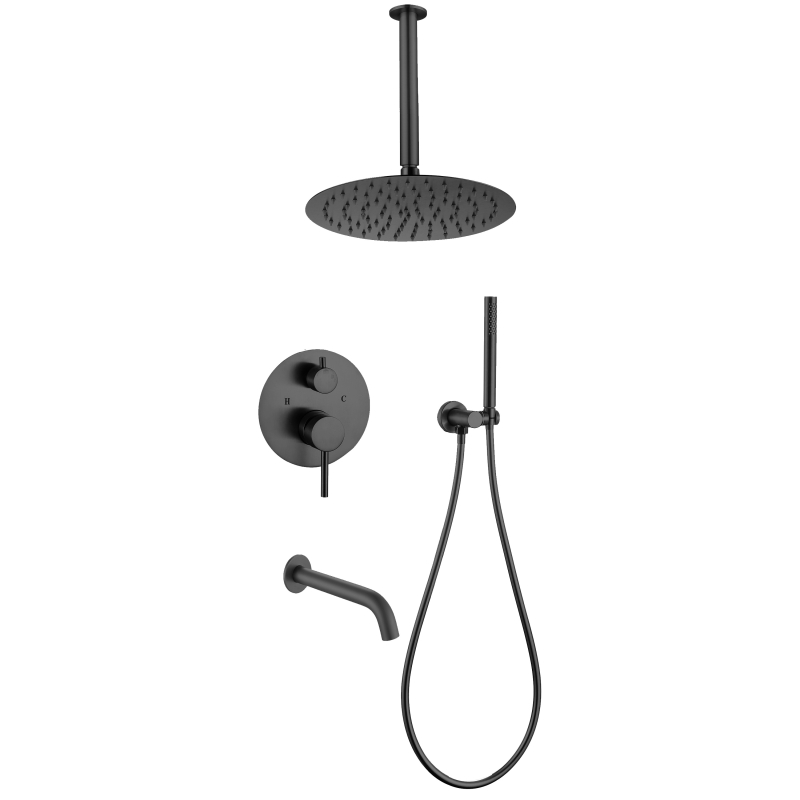
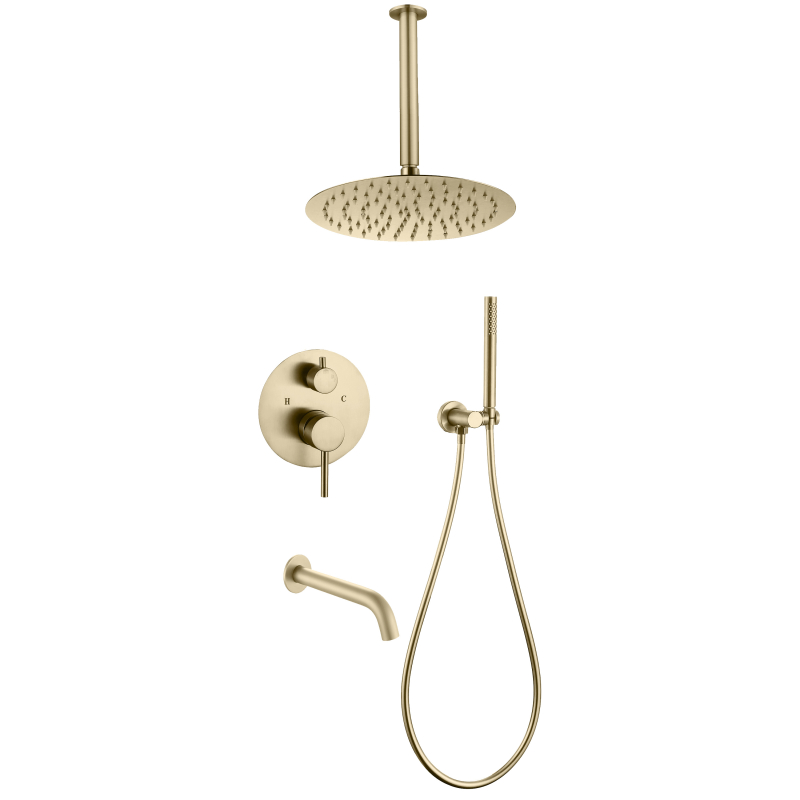
Having everything on hand before you begin prevents unnecessary trips to the hardware store mid-job. Here's what you'll typically need:
Adjustable wrench and basin wrench
Phillips and flathead screwdrivers
Allen key set (hex keys)
Plumber's tape (Teflon tape)
Needle-nose pliers
Utility knife
Replacement shower faucet or valve cartridge
Silicone sealant
The type of replacement faucet matters just as much as the tools. Brass and zinc alloy faucets are common, but 304 or 316 stainless steel faucets—like those manufactured by ycfaucet—offer superior corrosion resistance, lead-free materials, and a significantly longer service life. This is especially important in wet environments where inferior metals degrade quickly.
Before touching anything, locate your home's main water shut-off valve or the dedicated shut-off for your bathroom. Turn it clockwise until fully closed. Then turn on the shower to release any remaining pressure in the lines. Don't skip this step—water still sitting in the pipes can create a mess the moment you loosen the first connection.
Once the pressure is released, place a towel or bucket under the work area. Even after draining, small amounts of residual water will remain in the pipes.
Start by removing the faucet handle. Most handles are secured by a screw hidden beneath a decorative cap. Use a flathead screwdriver to pop the cap off, then unscrew the handle screw with a Phillips screwdriver and pull the handle free.
Next, remove the trim plate (escutcheon). This is the plate that covers the wall opening. It may be held in place by screws or simply press-fitted with caulk. Run a utility knife along the edge to break the sealant before pulling it away from the wall.
With the trim removed, you'll see the valve cartridge or faucet stem. Use pliers or an adjustable wrench to unscrew the retaining nut, then pull the cartridge straight out. Take note of the cartridge orientation before removing it—this matters for correct reinstallation.
The following table summarizes the most common shower faucet types and what to expect during removal:
Faucet Type | Removal Difficulty | Key Component to Remove | Common Issue |
|---|---|---|---|
Single-handle cartridge | Easy | Cartridge | Worn cartridge seal |
Two-handle (hot/cold) | Moderate | Two separate stems | Corroded stem threads |
Thermostatic valve | Moderate–Hard | Thermostatic cartridge | Precise calibration needed |
Concealed/in-wall valve | Hard | Entire valve body | Requires wall access |
Ball-type faucet | Moderate | Ball assembly | Multiple small parts |
Not all replacement faucets are created equal. Material quality, valve type, and certification standards all affect performance and longevity. Many budget faucets use zinc alloy internals that corrode within a few years. For those asking how do i replace a shower faucet and looking to avoid doing it again in two years, investing in a certified stainless steel product makes a measurable difference.
ycfaucet, a professional manufacturer based in Kaiping, Guangdong—China's recognized plumbing and sanitary ware manufacturing hub—produces 304 and 316 stainless steel shower sets and faucets that hold international certifications including Watermark, WELS, cUPC, and NSF/ANSI 372 Lead Free. These certifications confirm that the materials meet strict health and performance standards across multiple markets. With over 10,000 overseas clients served and more than 10 design patents, ycfaucet offers both exposed and concealed shower options suited to a wide range of bathroom configurations.
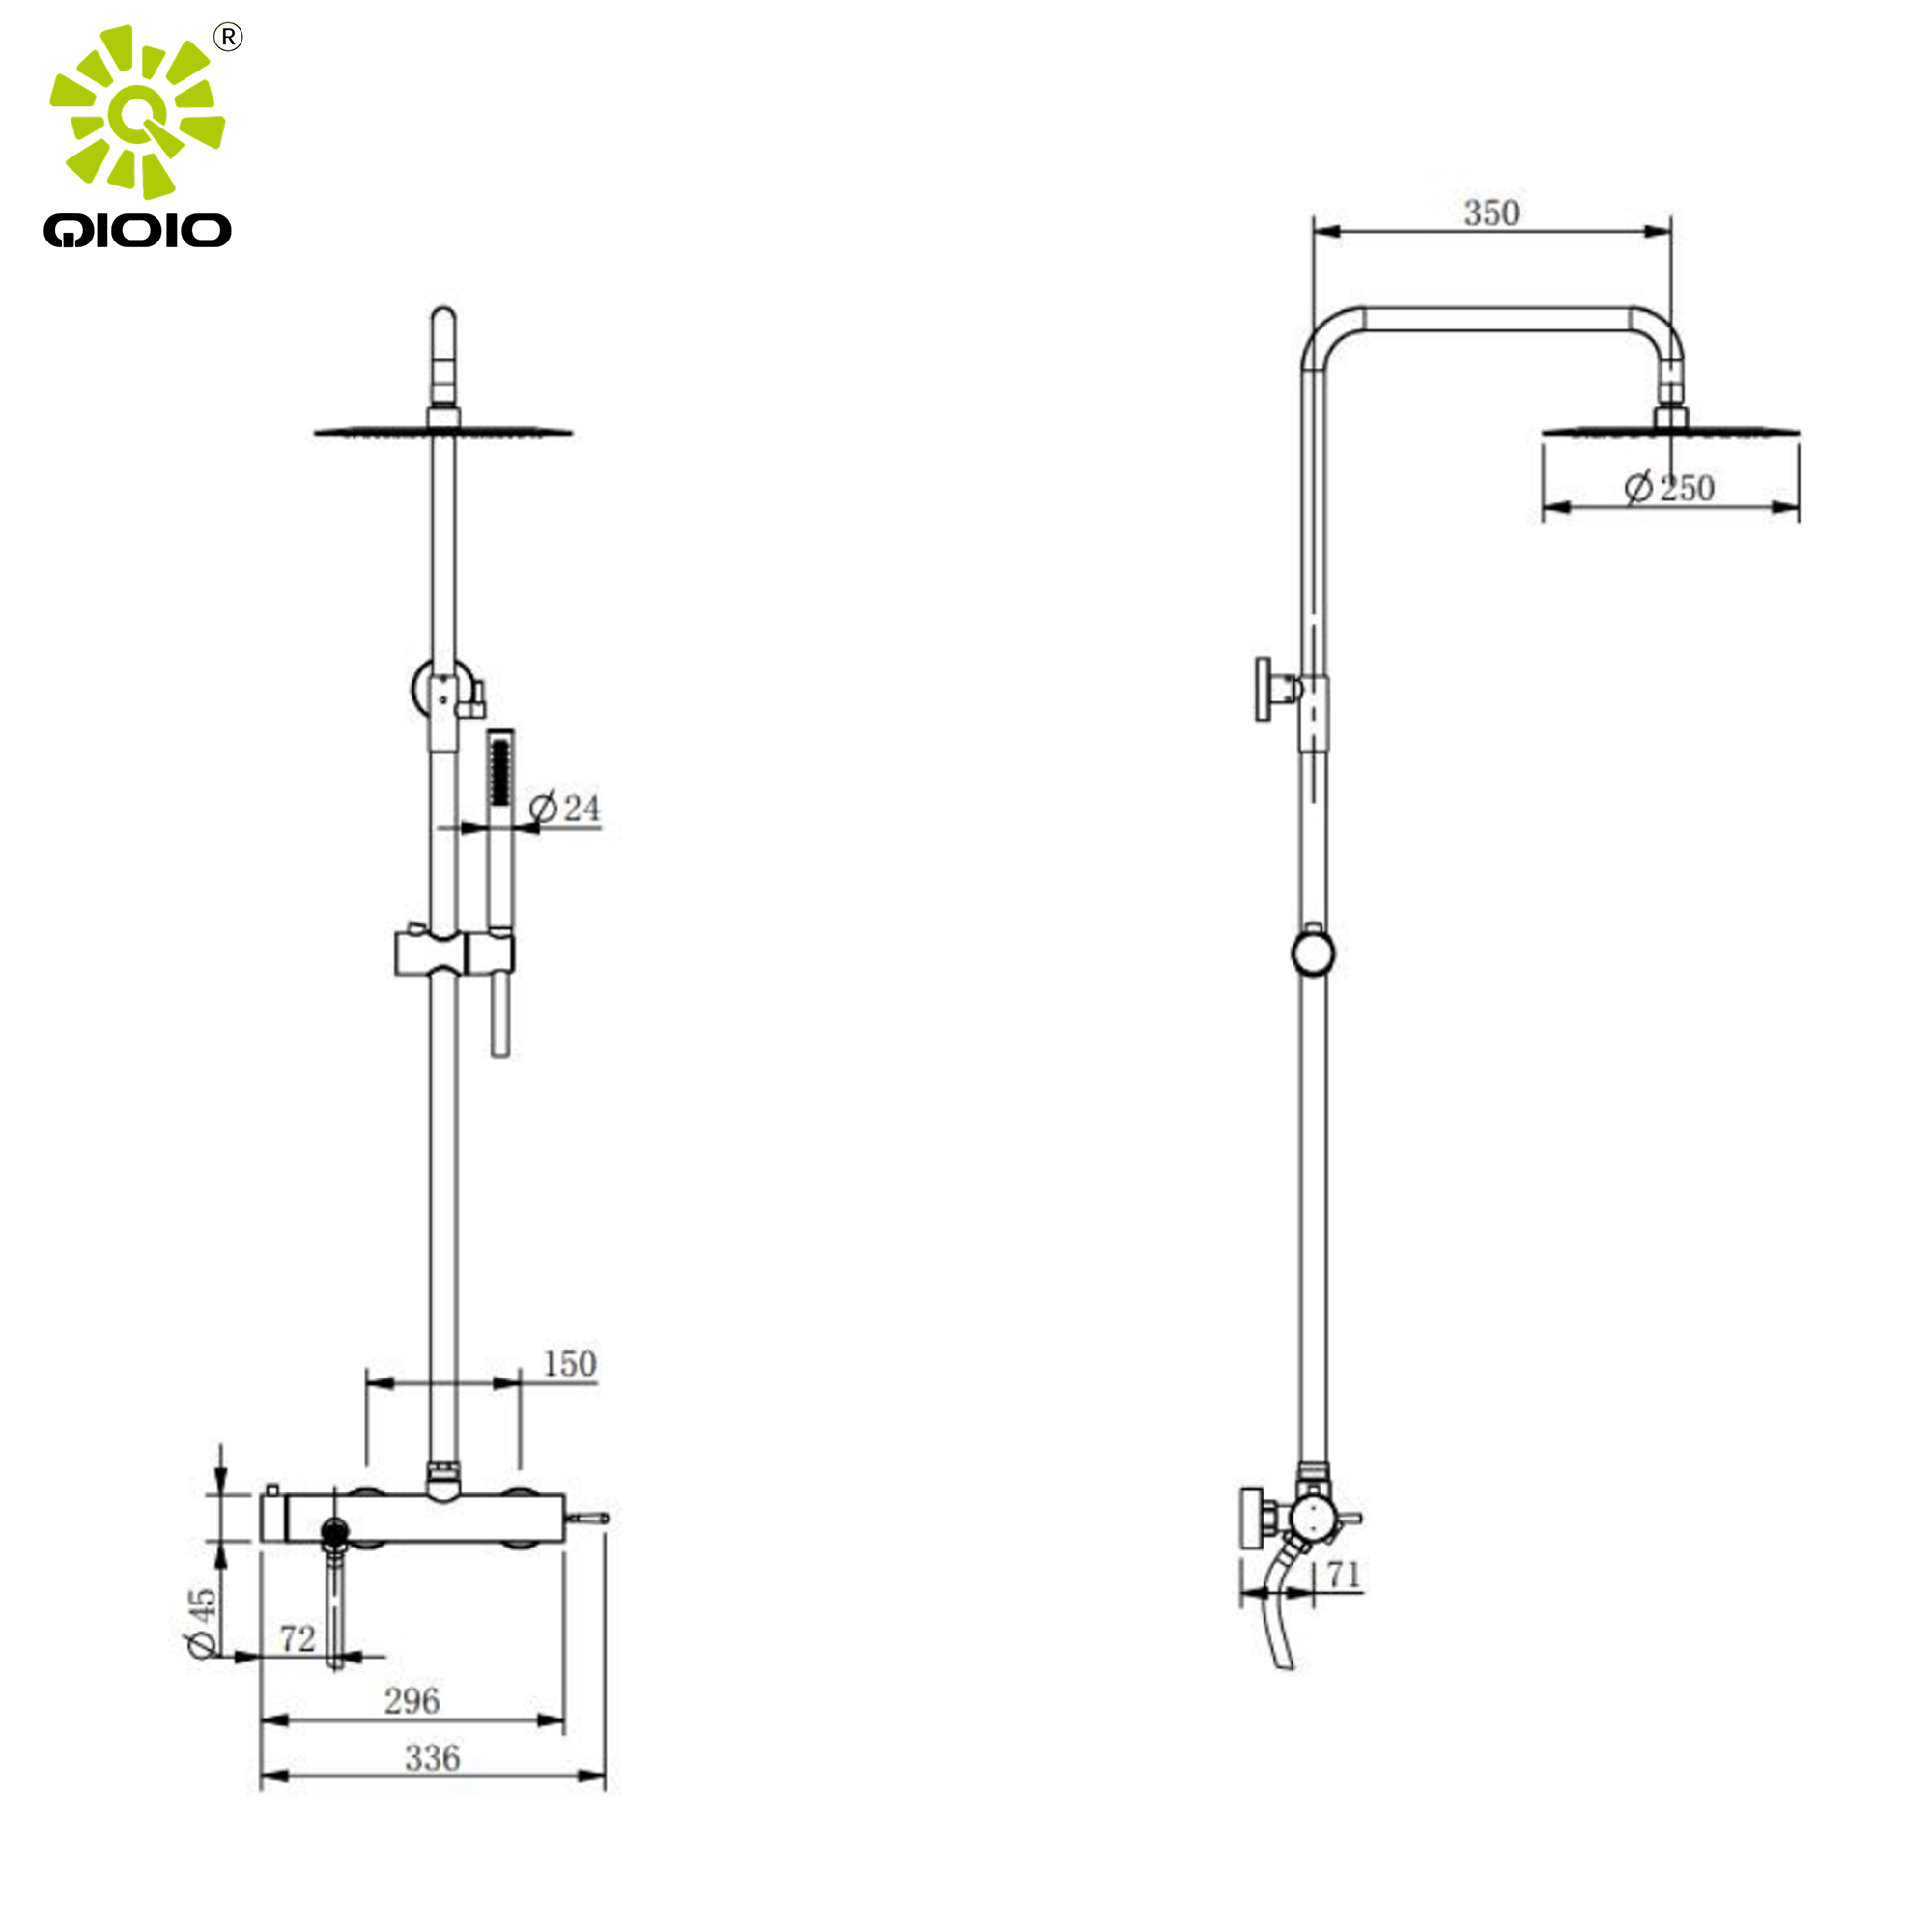
When selecting your replacement unit, match the valve size and connection type to your existing plumbing. Check the rough-in dimensions before purchasing, and confirm whether the product is a direct cartridge swap or requires a full valve replacement.
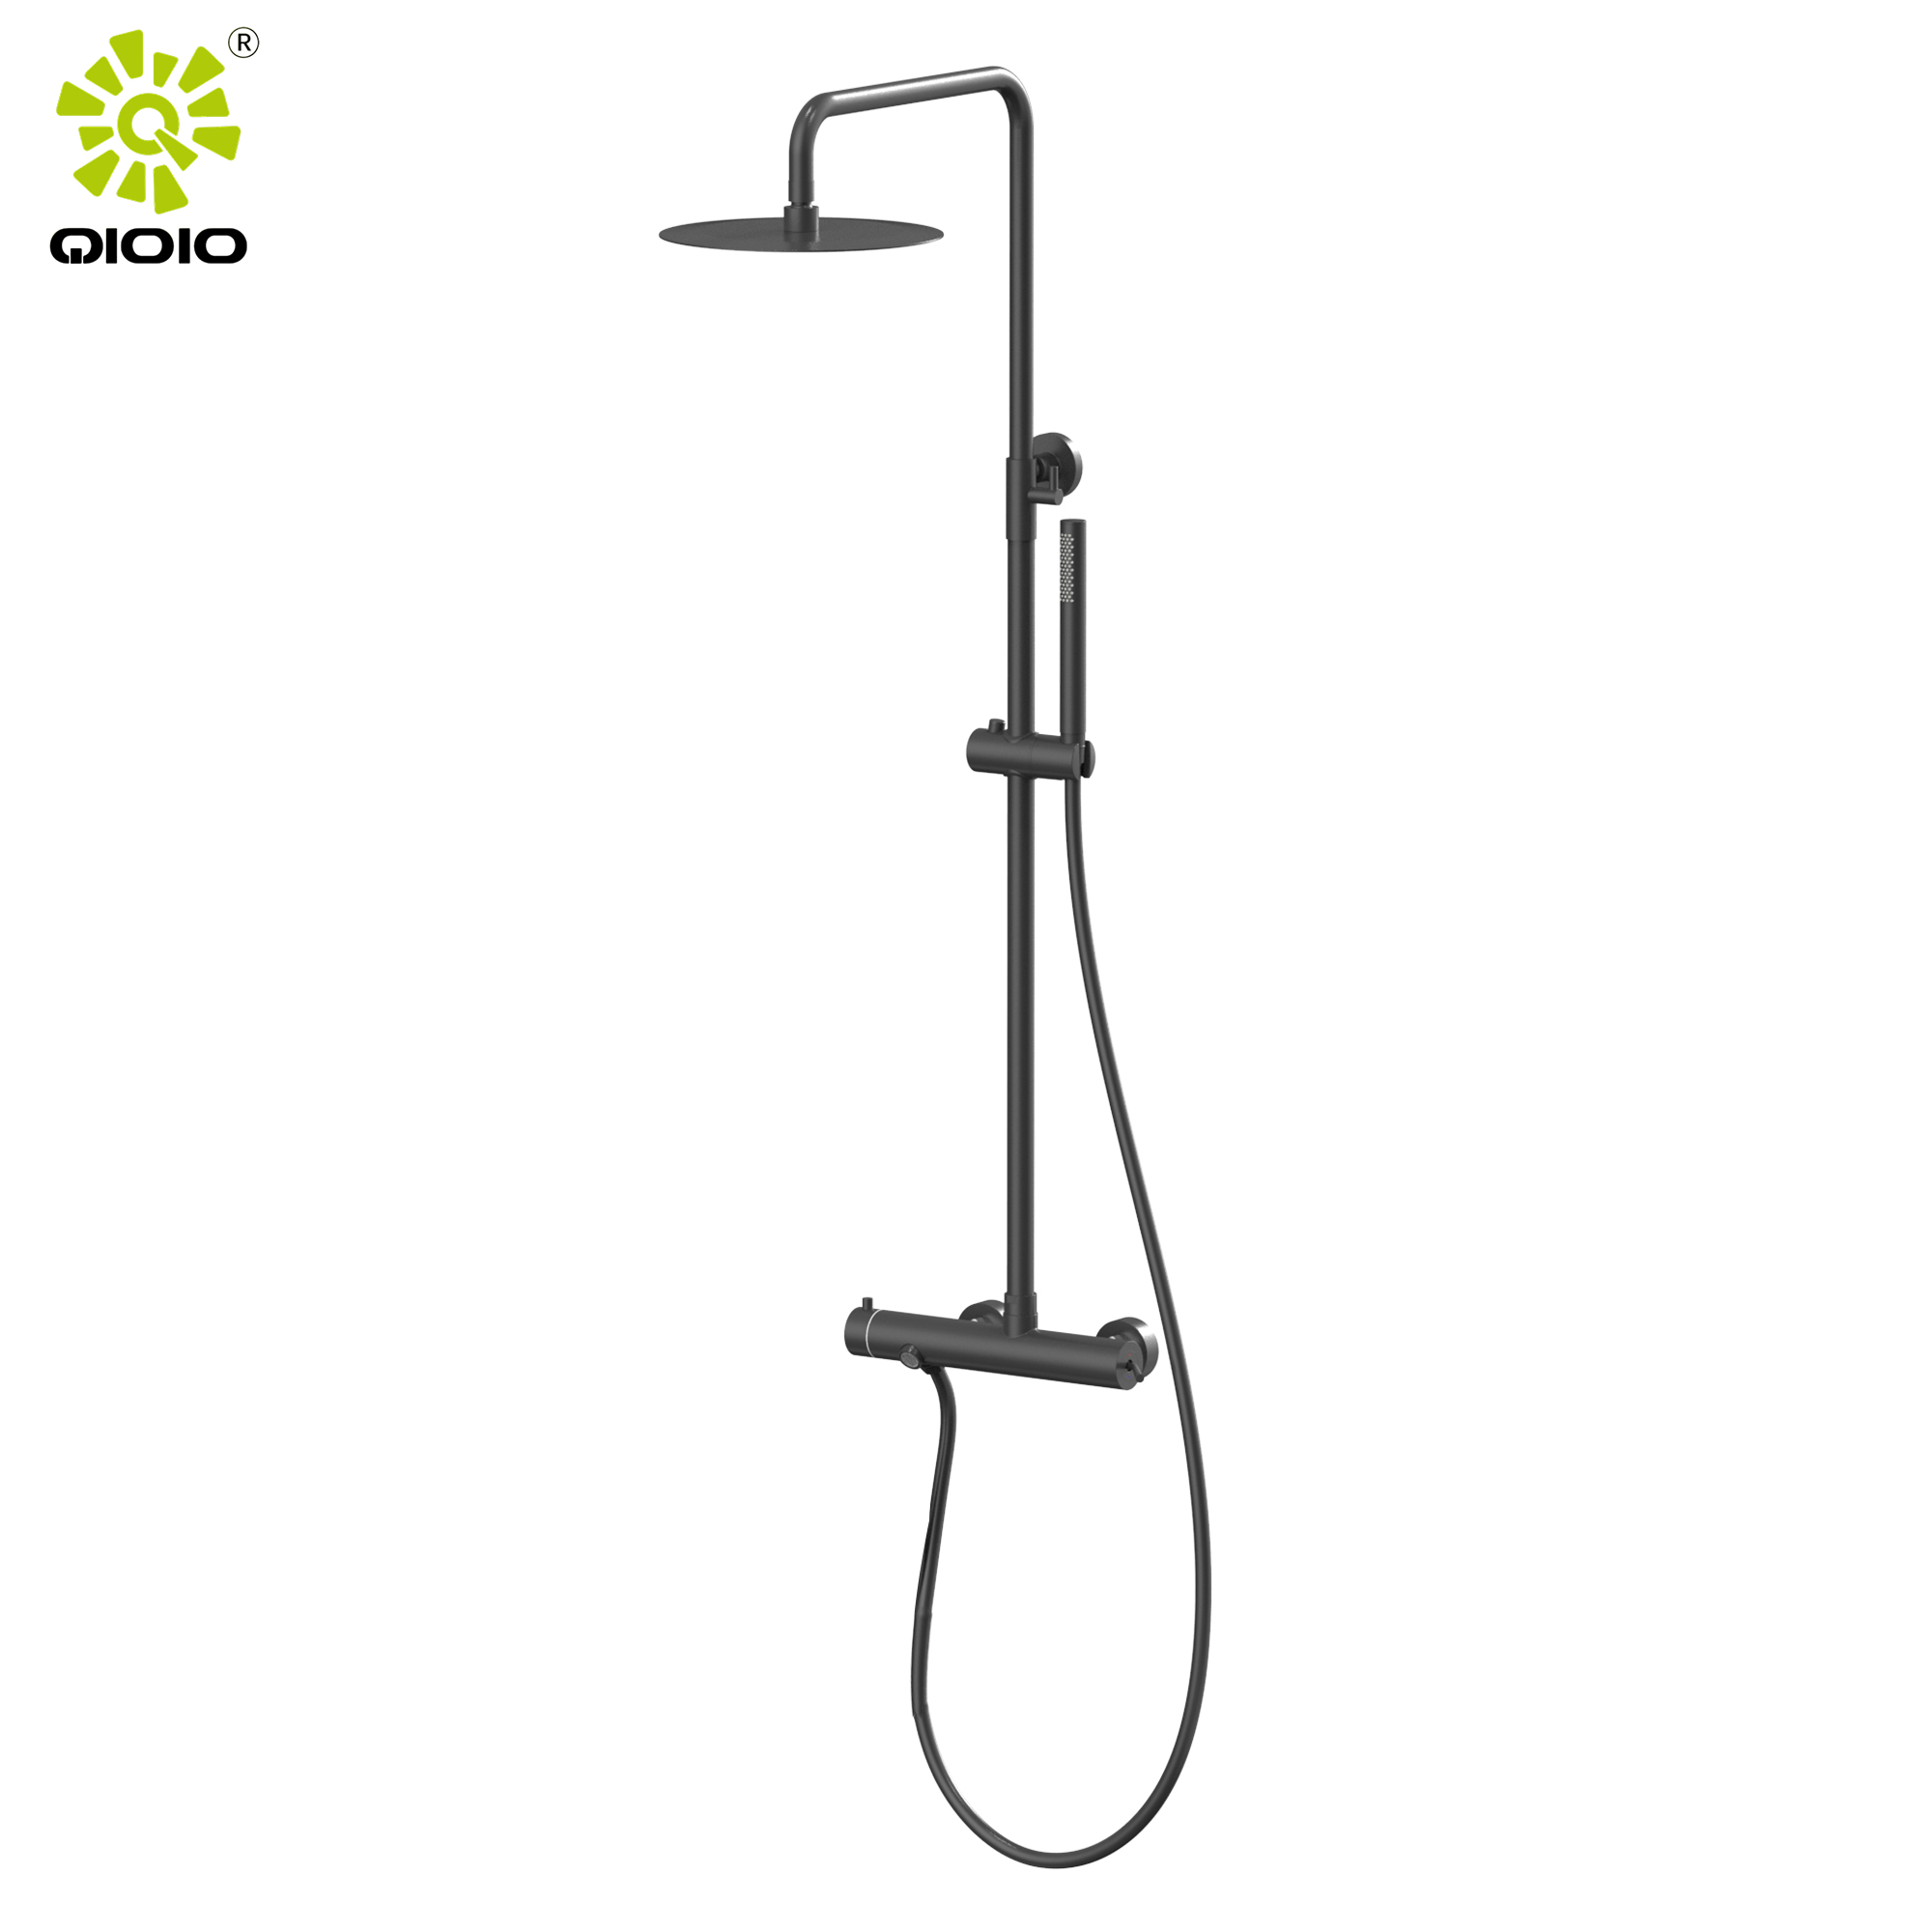
Installing the new cartridge or valve is largely the reverse of removal, but a few details deserve attention.
First, wrap the threads of any connections with two to three layers of plumber's tape. This prevents leaks at the join points without requiring excessive force. Insert the new cartridge in the correct orientation—most cartridges are keyed so they can only go in one way, but verify this against the manufacturer's instructions.
Hand-tighten all connections first, then apply a final quarter-turn with a wrench. Over-tightening can crack fittings or damage cartridge seats. Reattach the trim plate, apply a thin bead of silicone sealant around its perimeter, and press it flush against the wall.
Reattach the handle, replace the decorative cap, and turn the water supply back on slowly. Let the water run for two to three minutes to flush any debris from the new valve, then check all connection points for leaks.
A properly installed faucet from a certified manufacturer should deliver years of reliable performance without drips, pressure drops, or temperature swings. The most common reason homeowners find themselves repeating this repair within a short time frame is low-quality materials—specifically, cartridges with rubber seals that degrade quickly in hard water conditions, or valve bodies that corrode from the inside out.
Those researching how to replace a bathroom shower faucet who want a long-term fix should look for products that specify lead-free stainless steel construction and carry third-party certifications. ycfaucet's shower range covers exposed, concealed, and thermostatic configurations, making it straightforward to find a product that matches your existing bathroom setup without compromising on durability or finish quality.
DIY replacement works well for cartridge swaps and standard valve replacements. However, certain situations warrant professional help:
The shut-off valve is corroded and won't close fully
You discover mold or water damage inside the wall cavity
The existing pipe connections are soldered copper (requires torch work)
You're installing a thermostatic valve for the first time in an older home
In these cases, attempting the work without experience can escalate costs significantly. A plumber will also ensure the installation meets local building codes, which matters for insurance purposes.
Replacing a shower faucet is a straightforward project when approached methodically. Shut off the water, remove the handle and trim, swap the cartridge or valve, and reinstall in reverse order. The steps are consistent across most faucet types—what varies is the quality of the components you choose.
For those who want a replacement that genuinely lasts, ycfaucet's stainless steel shower sets offer a certified, corrosion-resistant option backed by over a decade of manufacturing experience. Browse the full shower set range at ycfaucet.com to find the right fit for your bathroom.
Most cartridge replacements take one to two hours. A full valve replacement, including removing trim and accessing the valve body, typically takes two to four hours for someone with basic plumbing experience.
If the valve body is undamaged and the correct replacement cartridge is still available, swapping just the cartridge is sufficient. If the valve body is cracked, corroded, or an outdated model with no available parts, a full faucet replacement is the better option.
304 stainless steel offers good corrosion resistance and suits most indoor bathroom environments. 316 stainless steel contains added molybdenum, which provides stronger resistance to chlorides and salt—making it the preferred choice for coastal climates or outdoor shower applications.
No. The water supply must be turned off before beginning any faucet replacement. Failing to do so risks flooding, pipe damage, and potential injury. Always confirm water pressure has been fully released before loosening any connections.
Note the brand name and model number printed on the existing faucet or cartridge body. Most manufacturers also list compatible replacement cartridges on their website. If the markings are worn, take the removed cartridge to a plumbing supply store for matching.